This guide will walk you through the CANbus wiring and setup that is specific to the BTT U2C v2.1 CANbus adapter. Please read through our CANbus guide for additional information on CANbus.
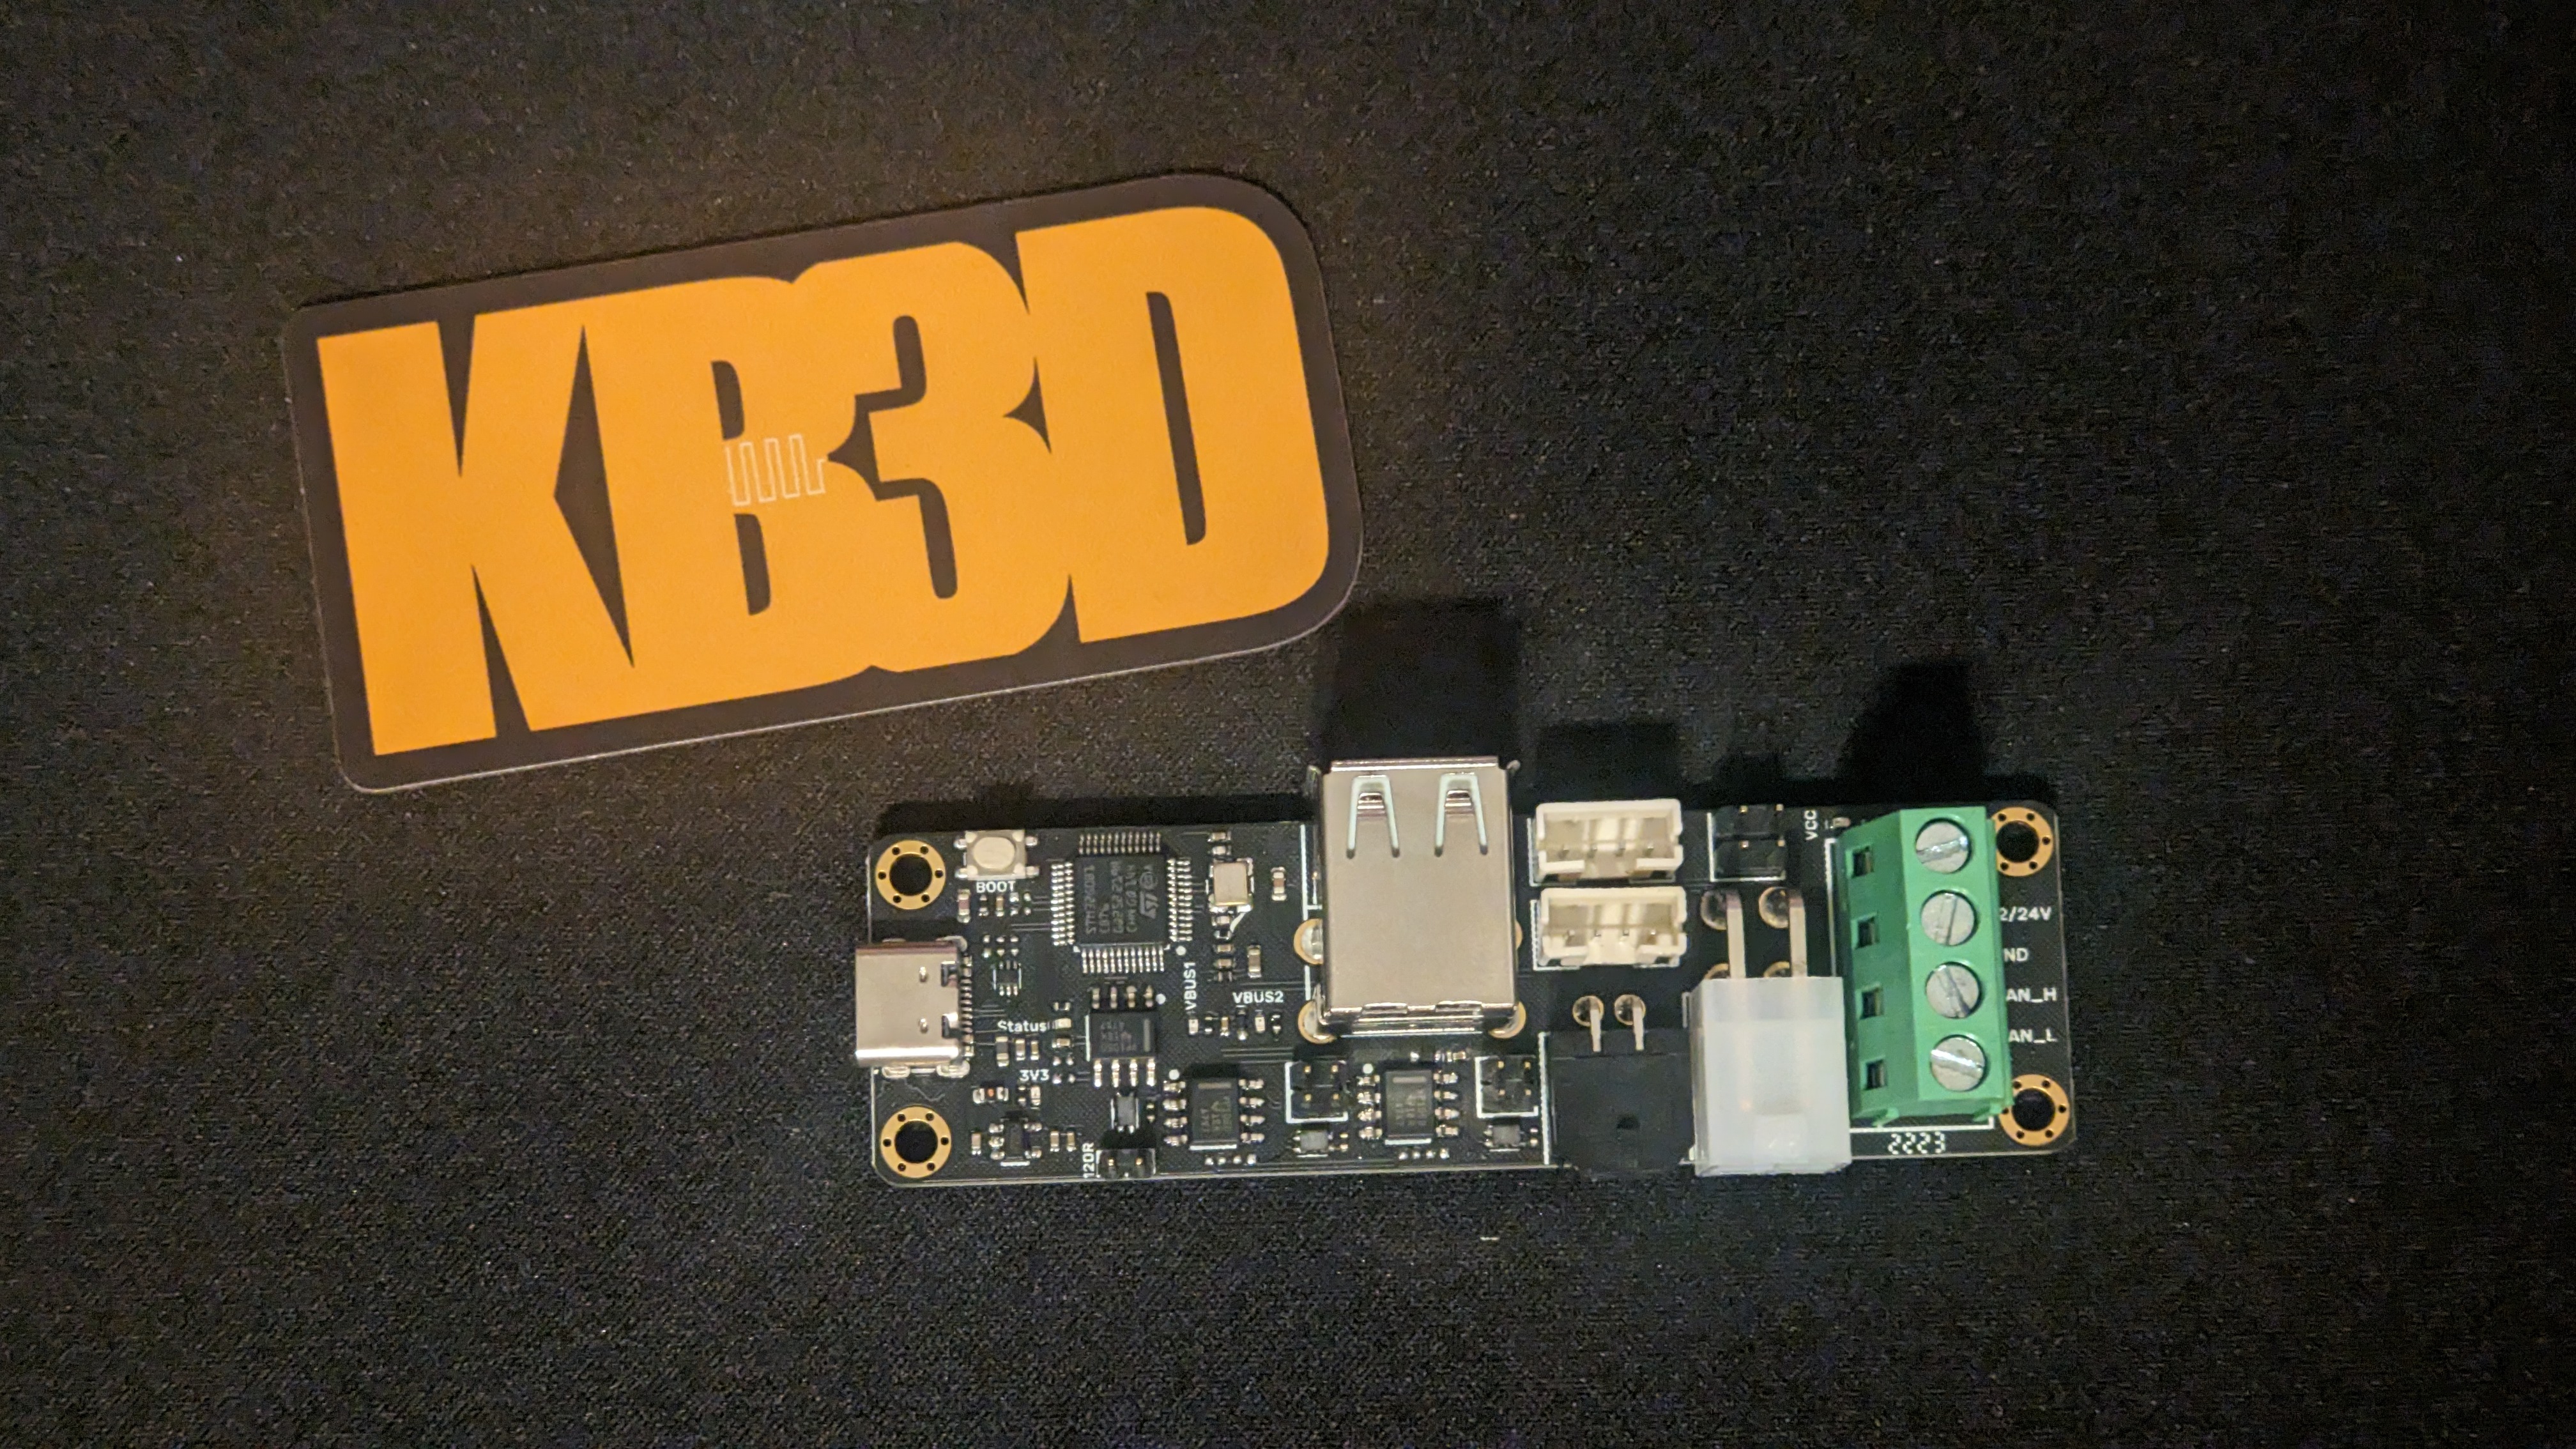
To mount your U2C, we recommend this mount from Electroleon in the Voron User Mod github. You will need an additional PCB DIN Clip as well.
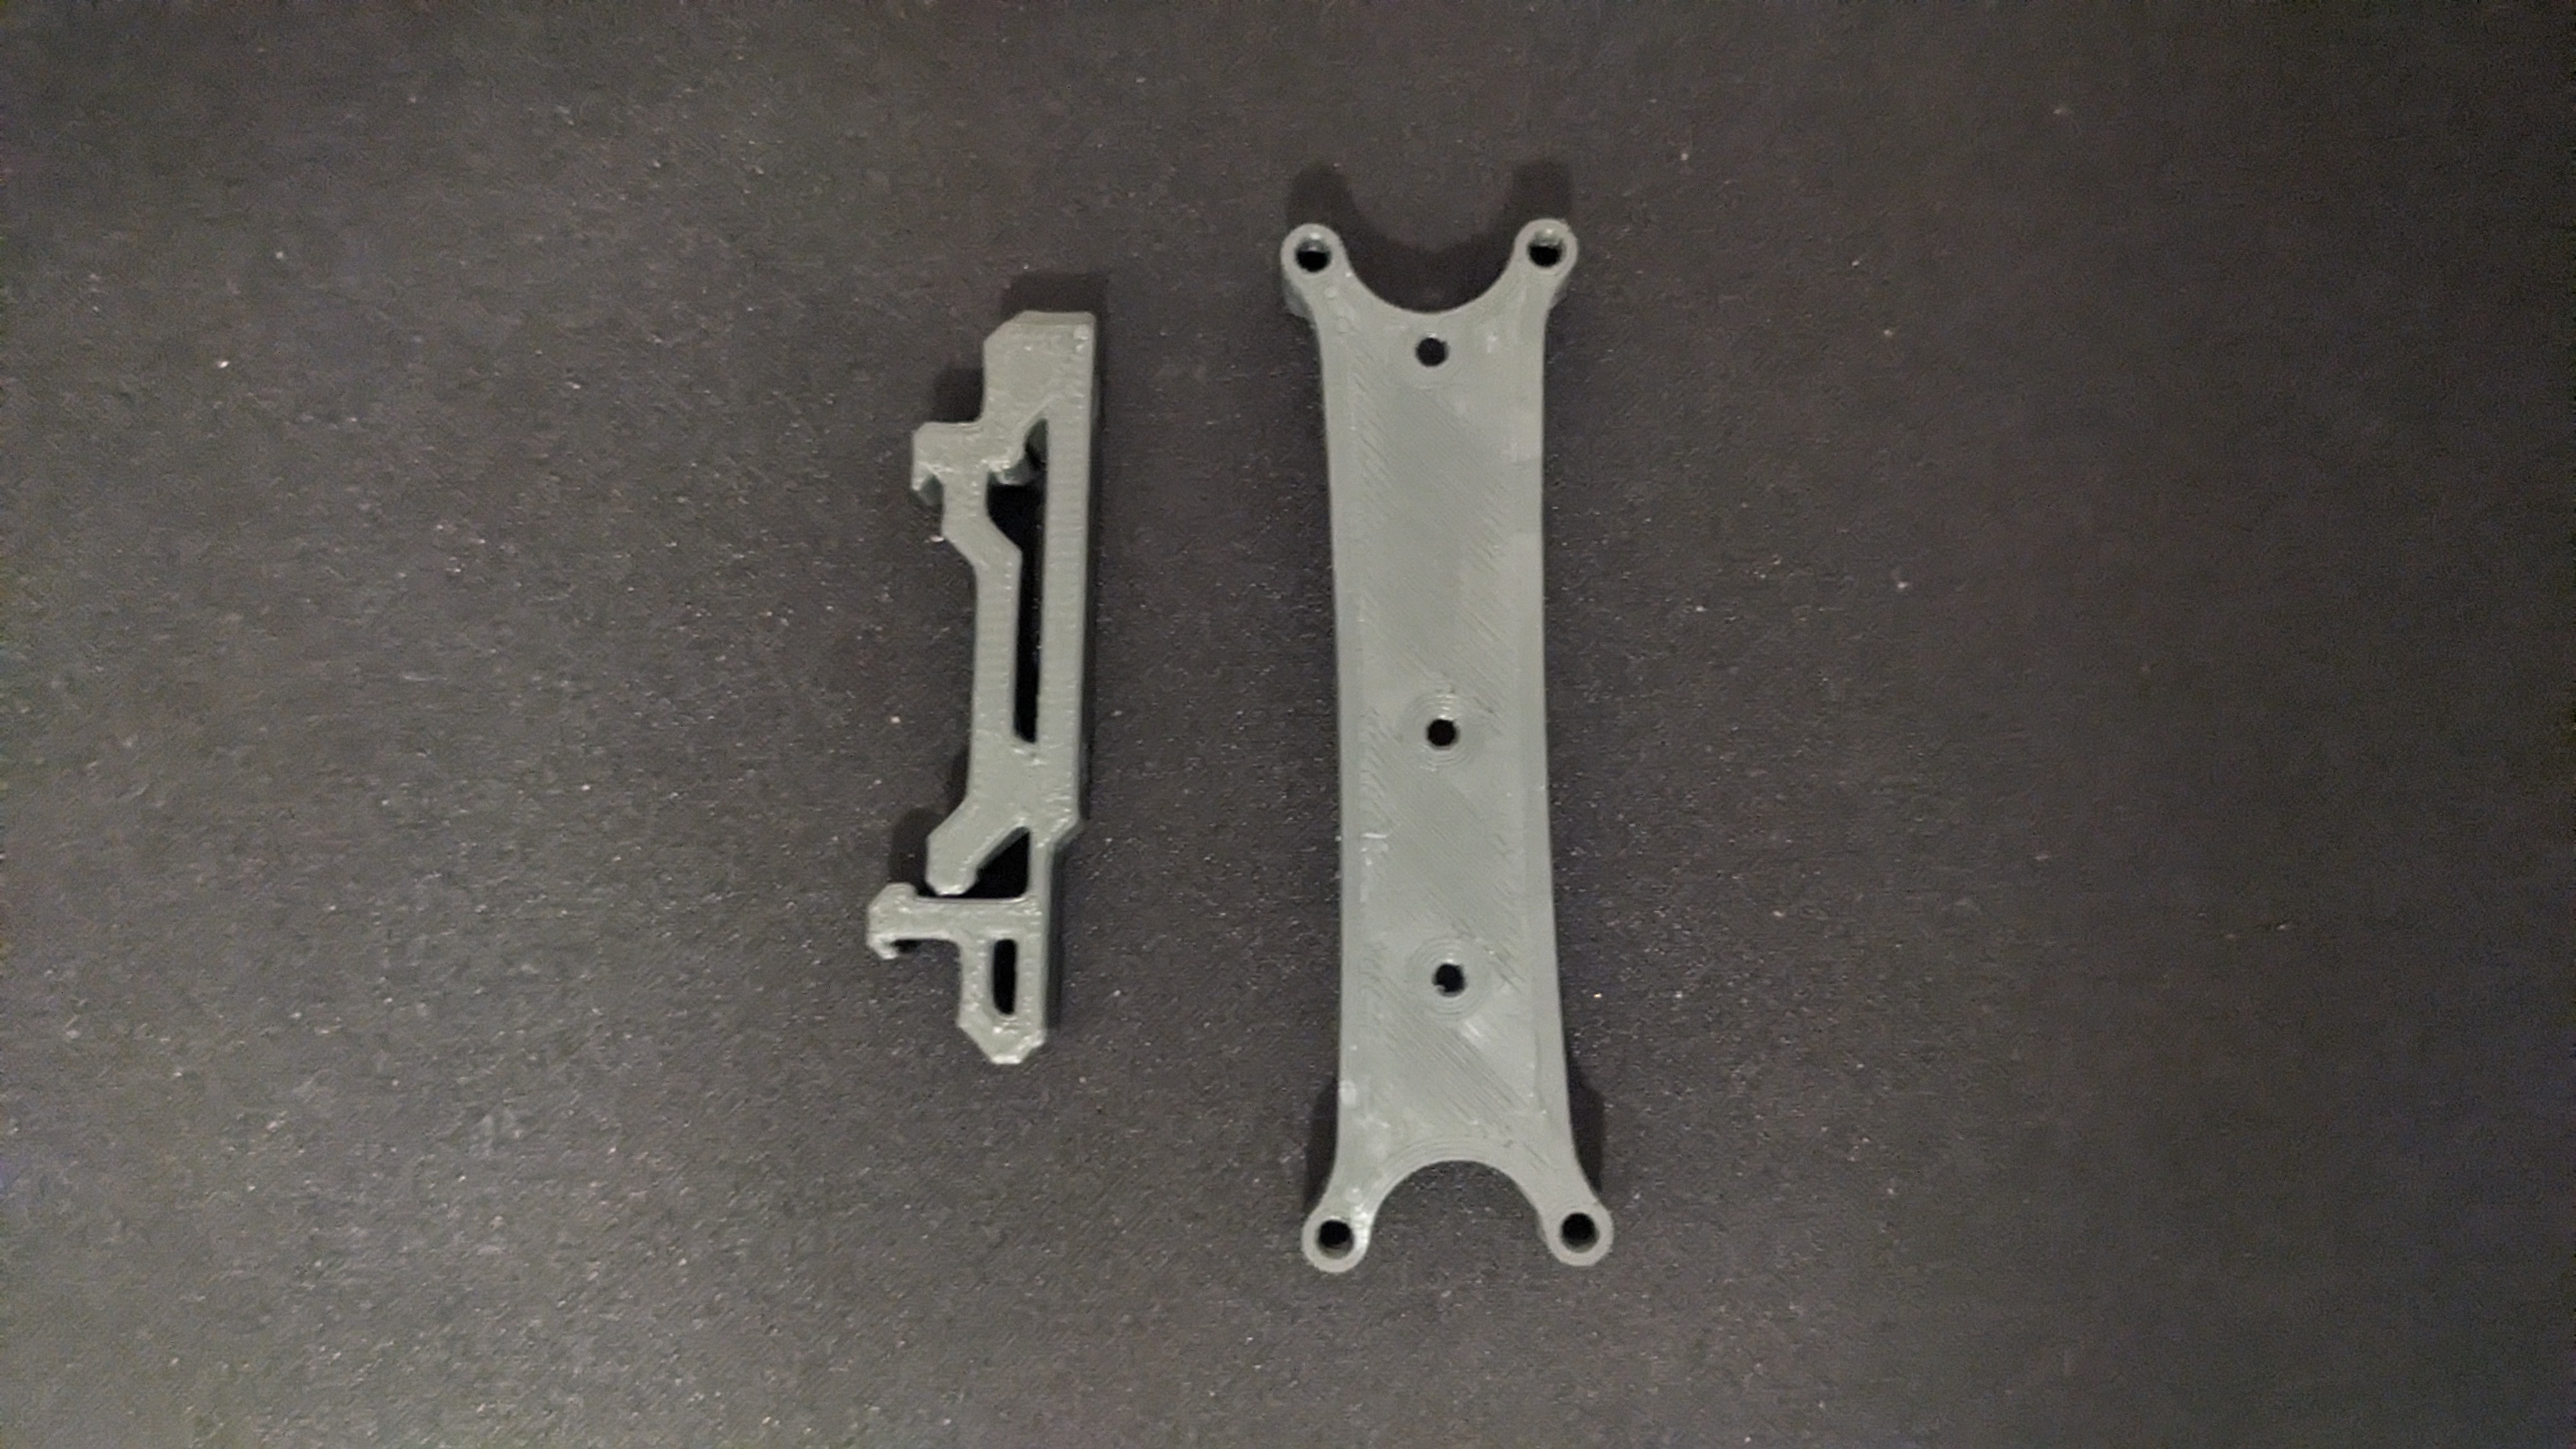
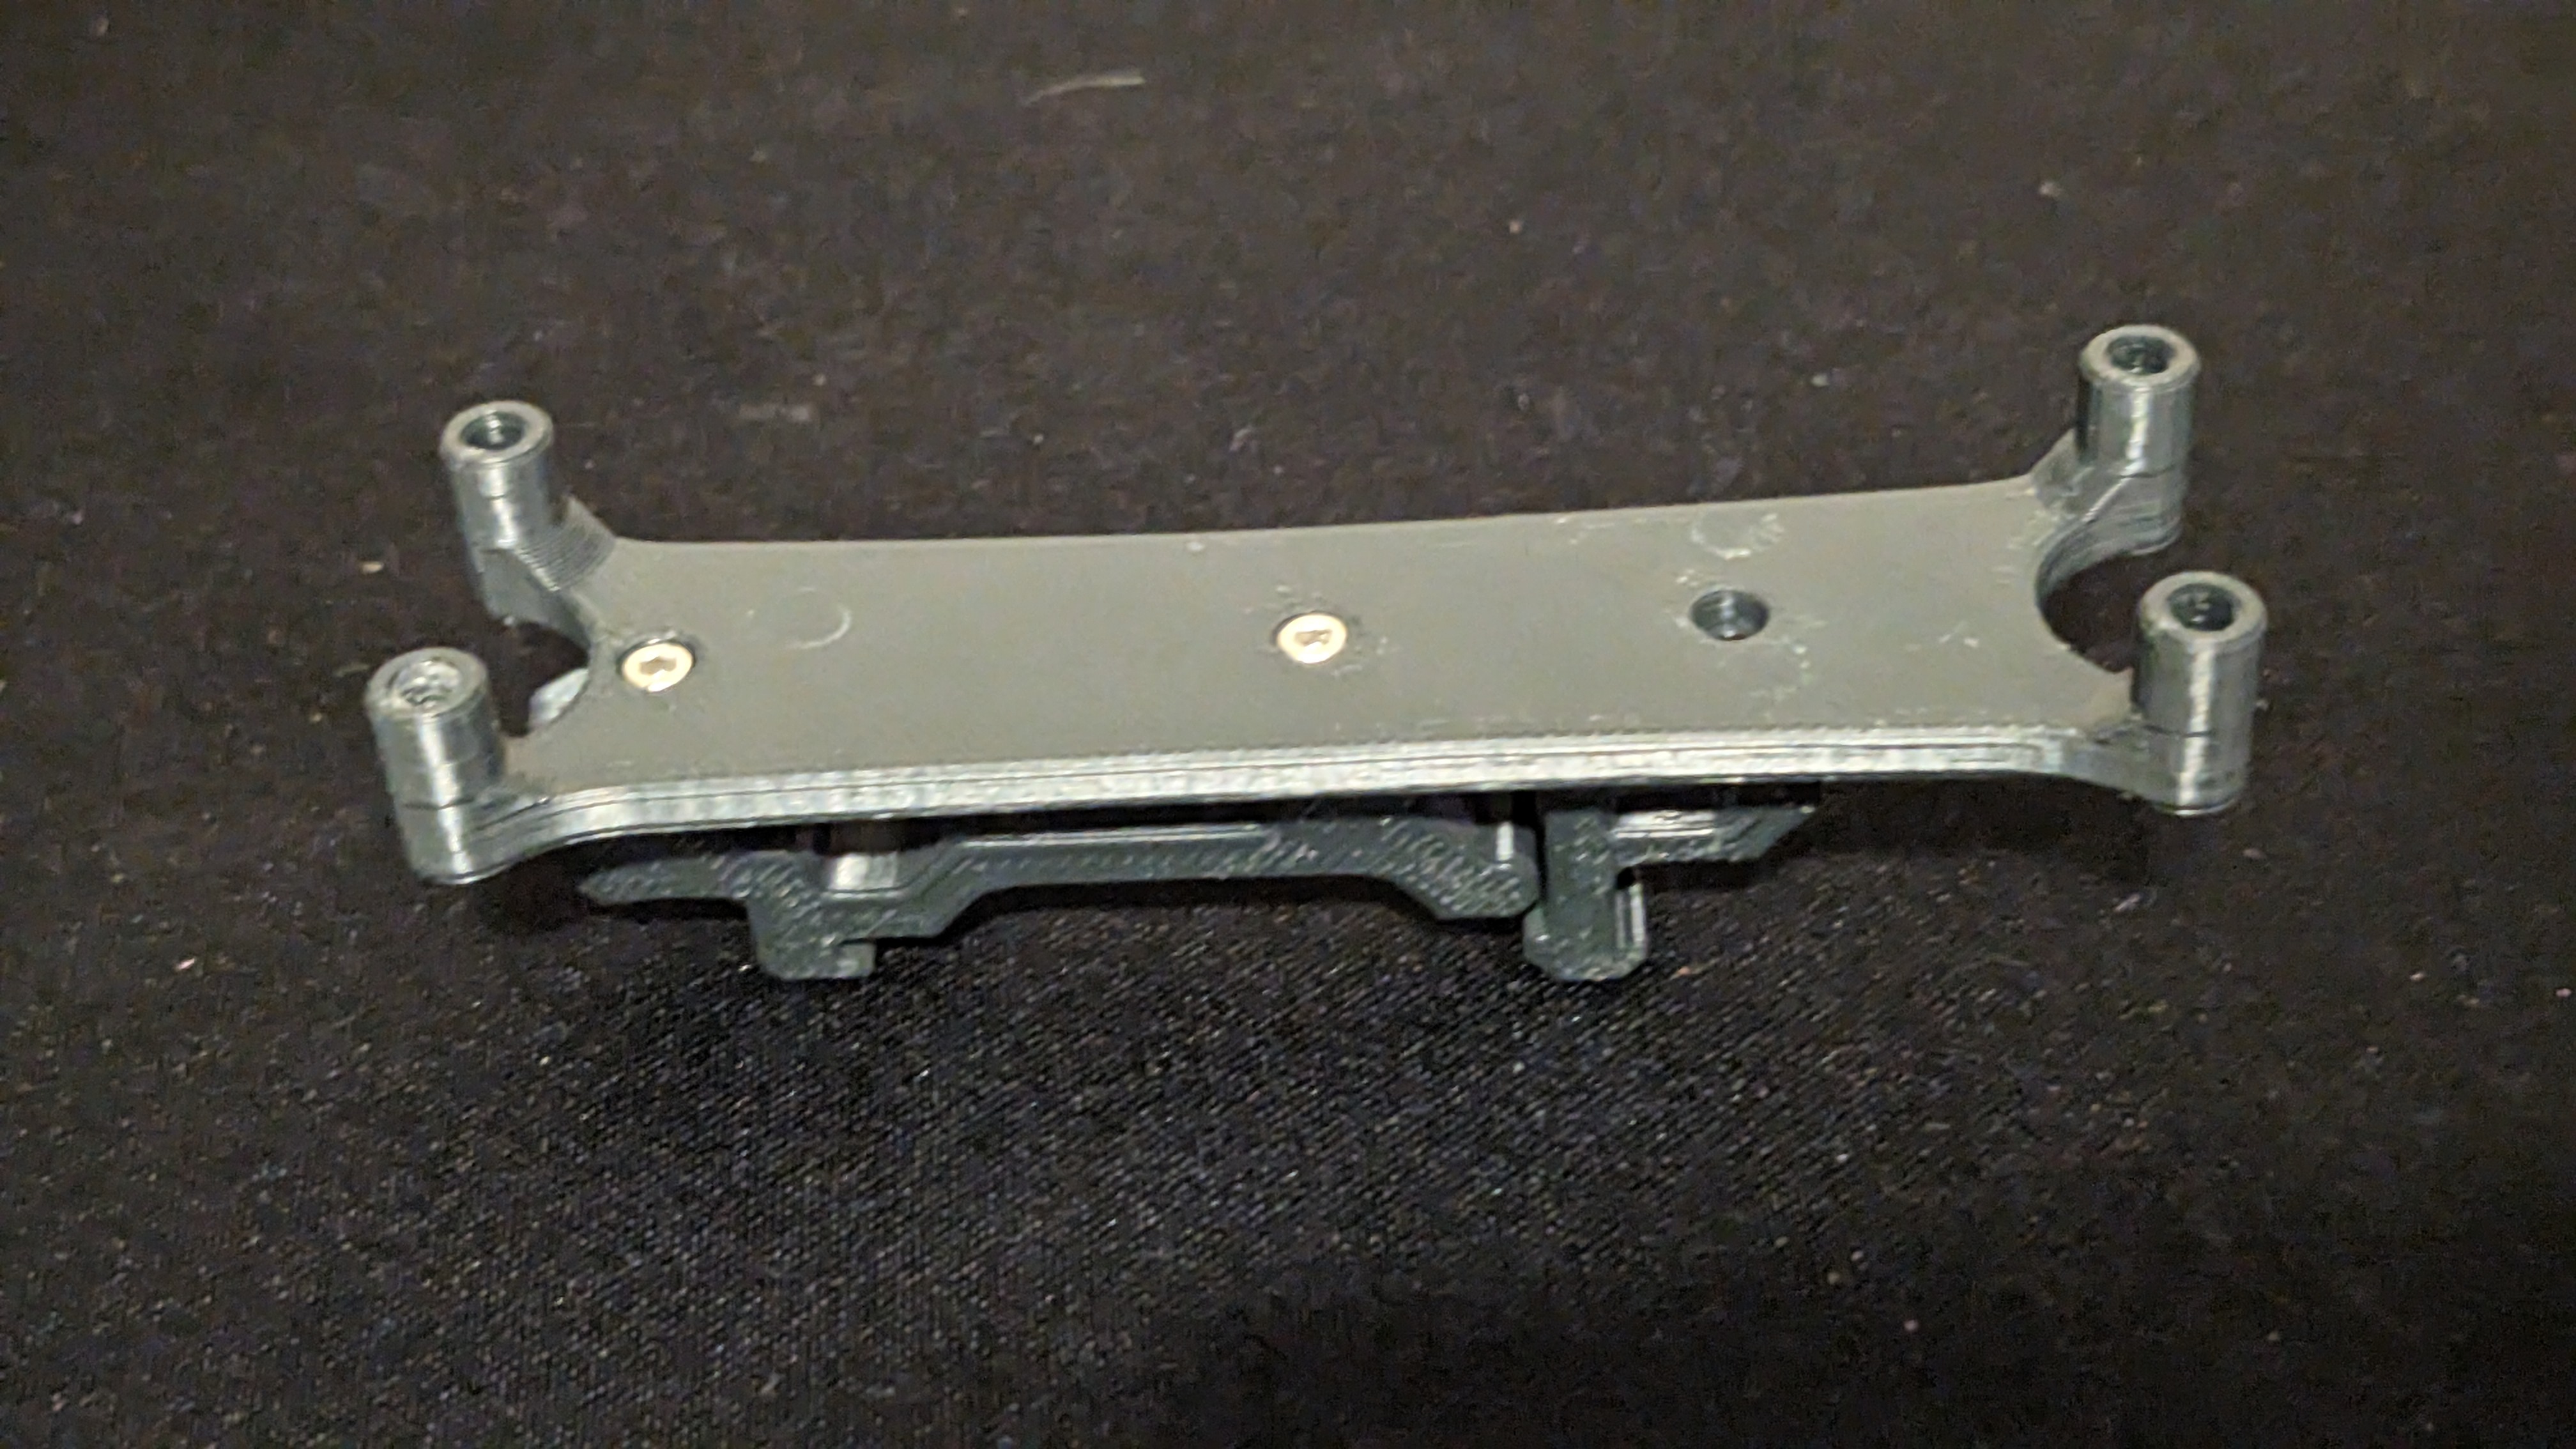
First mount the U2C mount to the DIN clip first using M2 self tapping screws.
Then secure the U2C to the mount with an M3x6 BHCS.
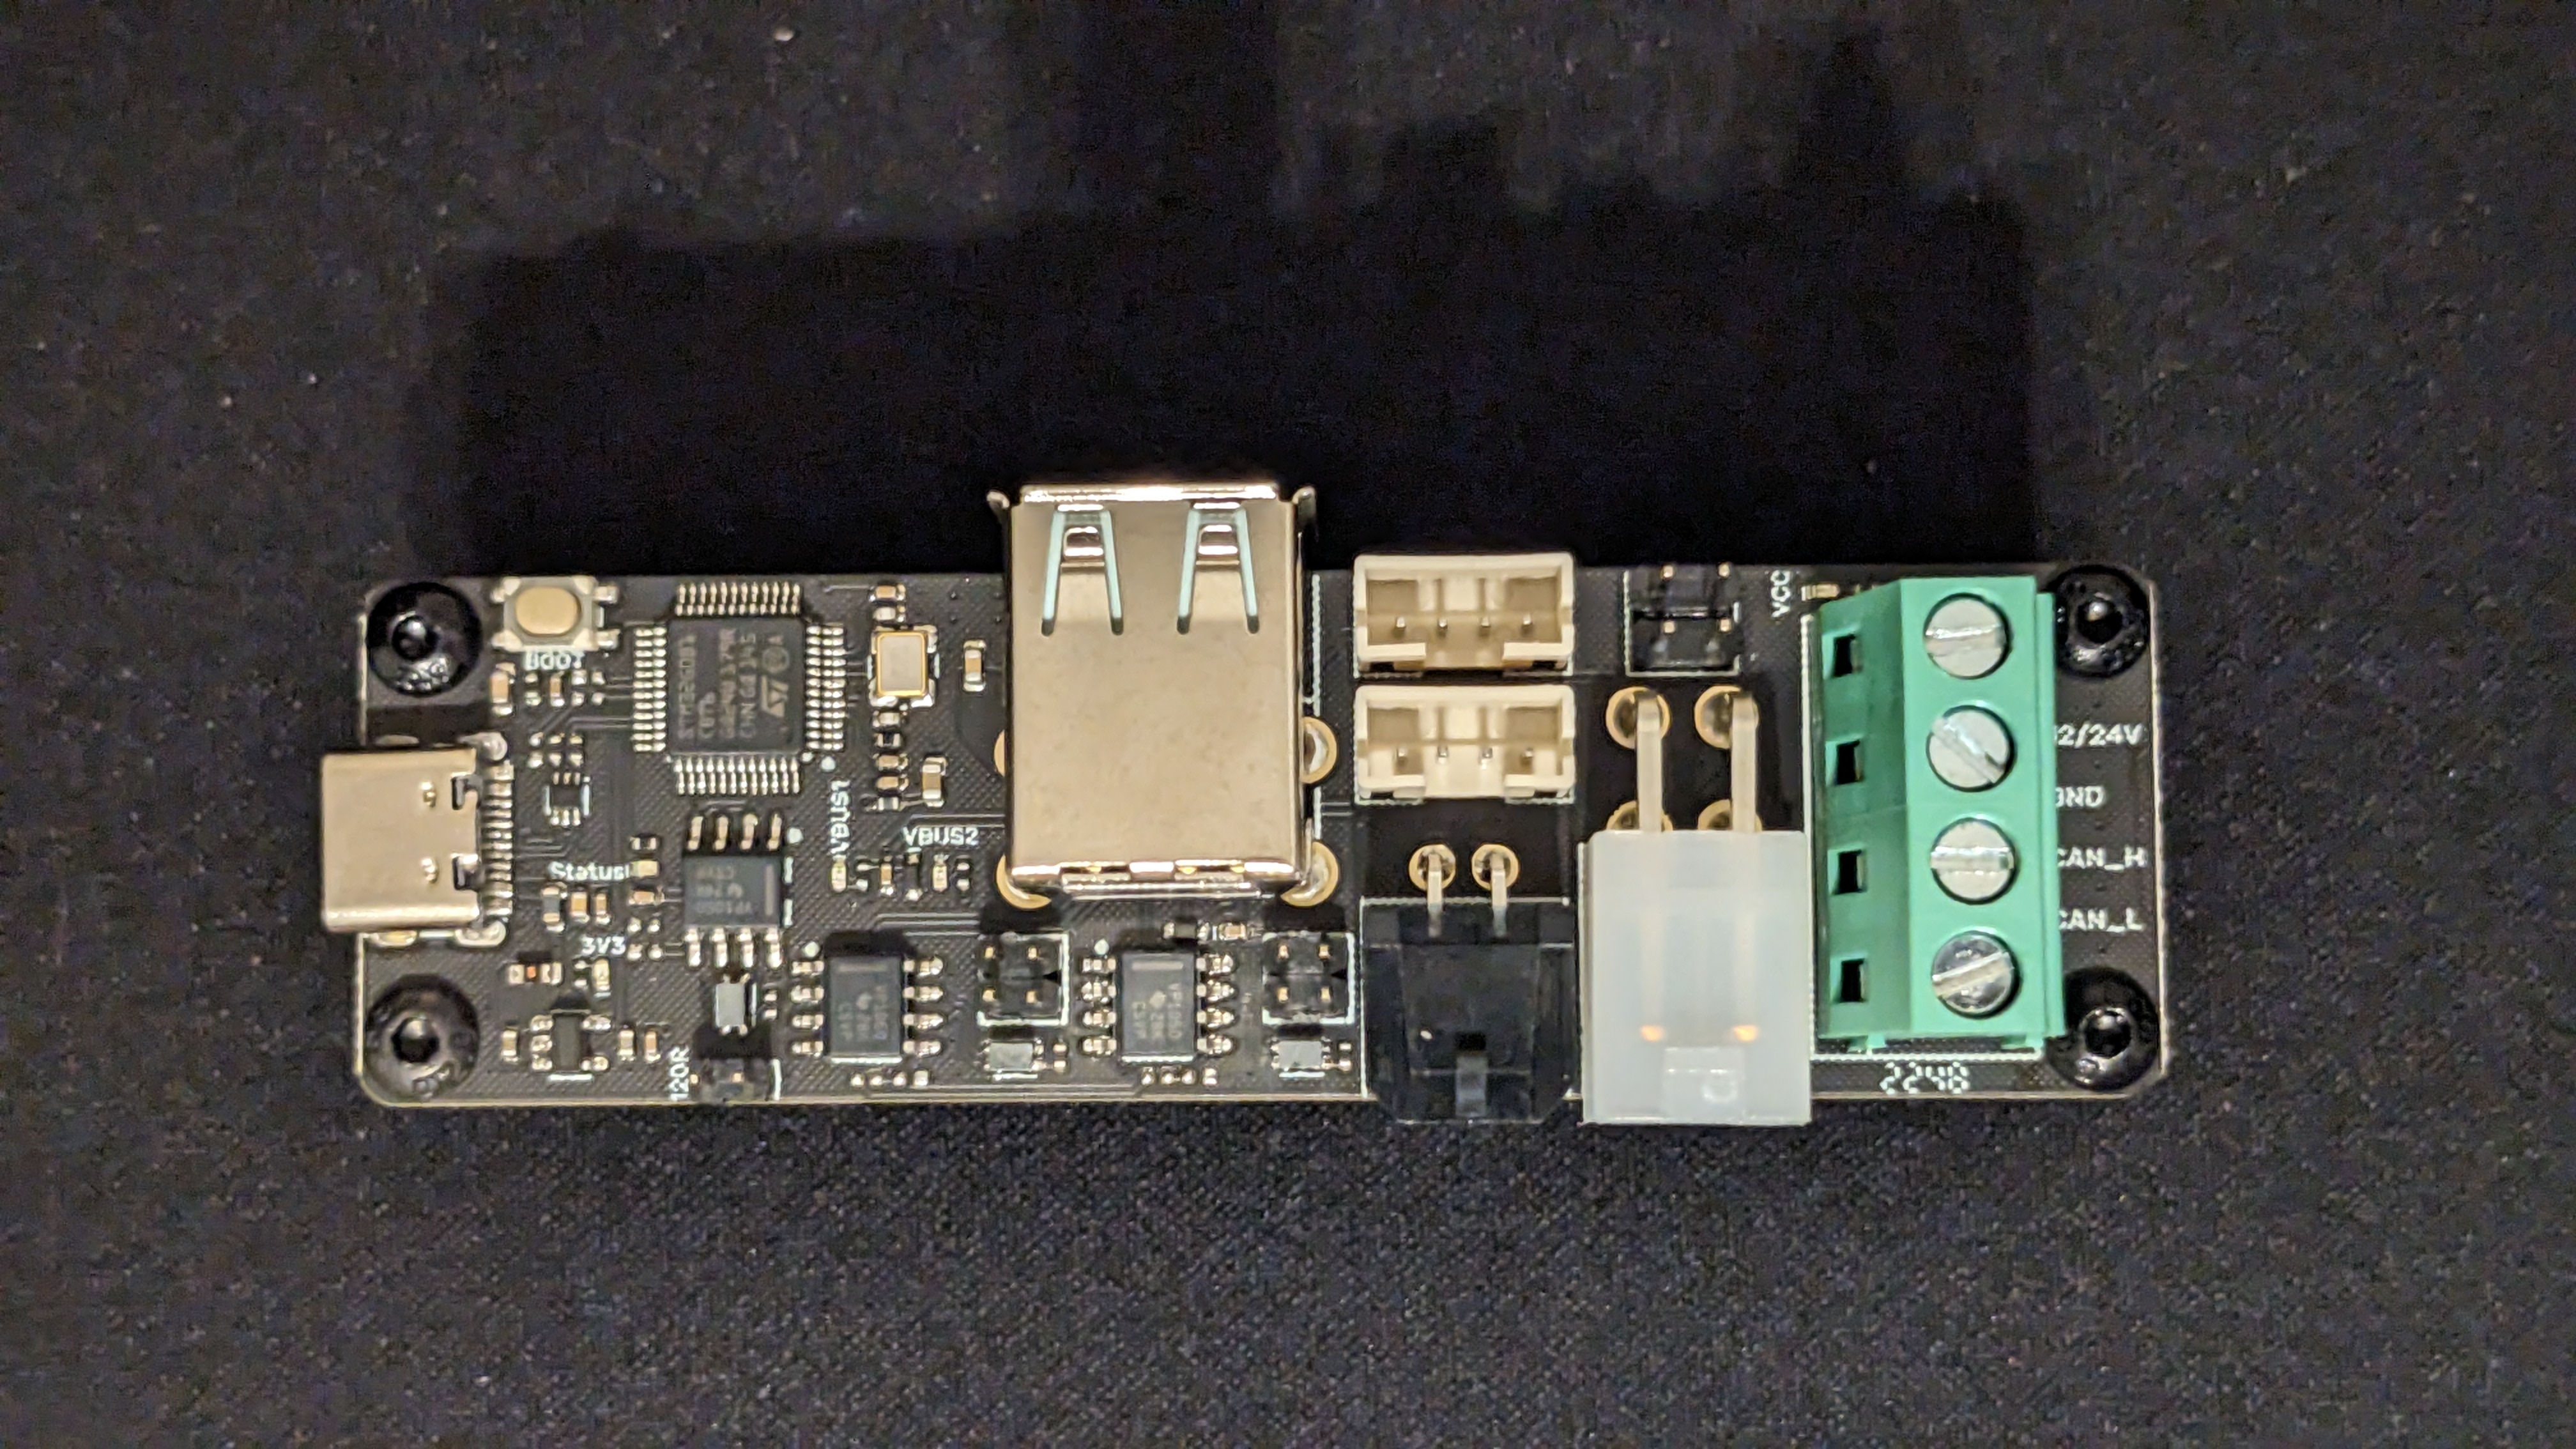
¶ Connecting your U2C
Once you have mounted your U2C, simply connect the U2C to your Raspberry Pi using the USB-C port at the end.
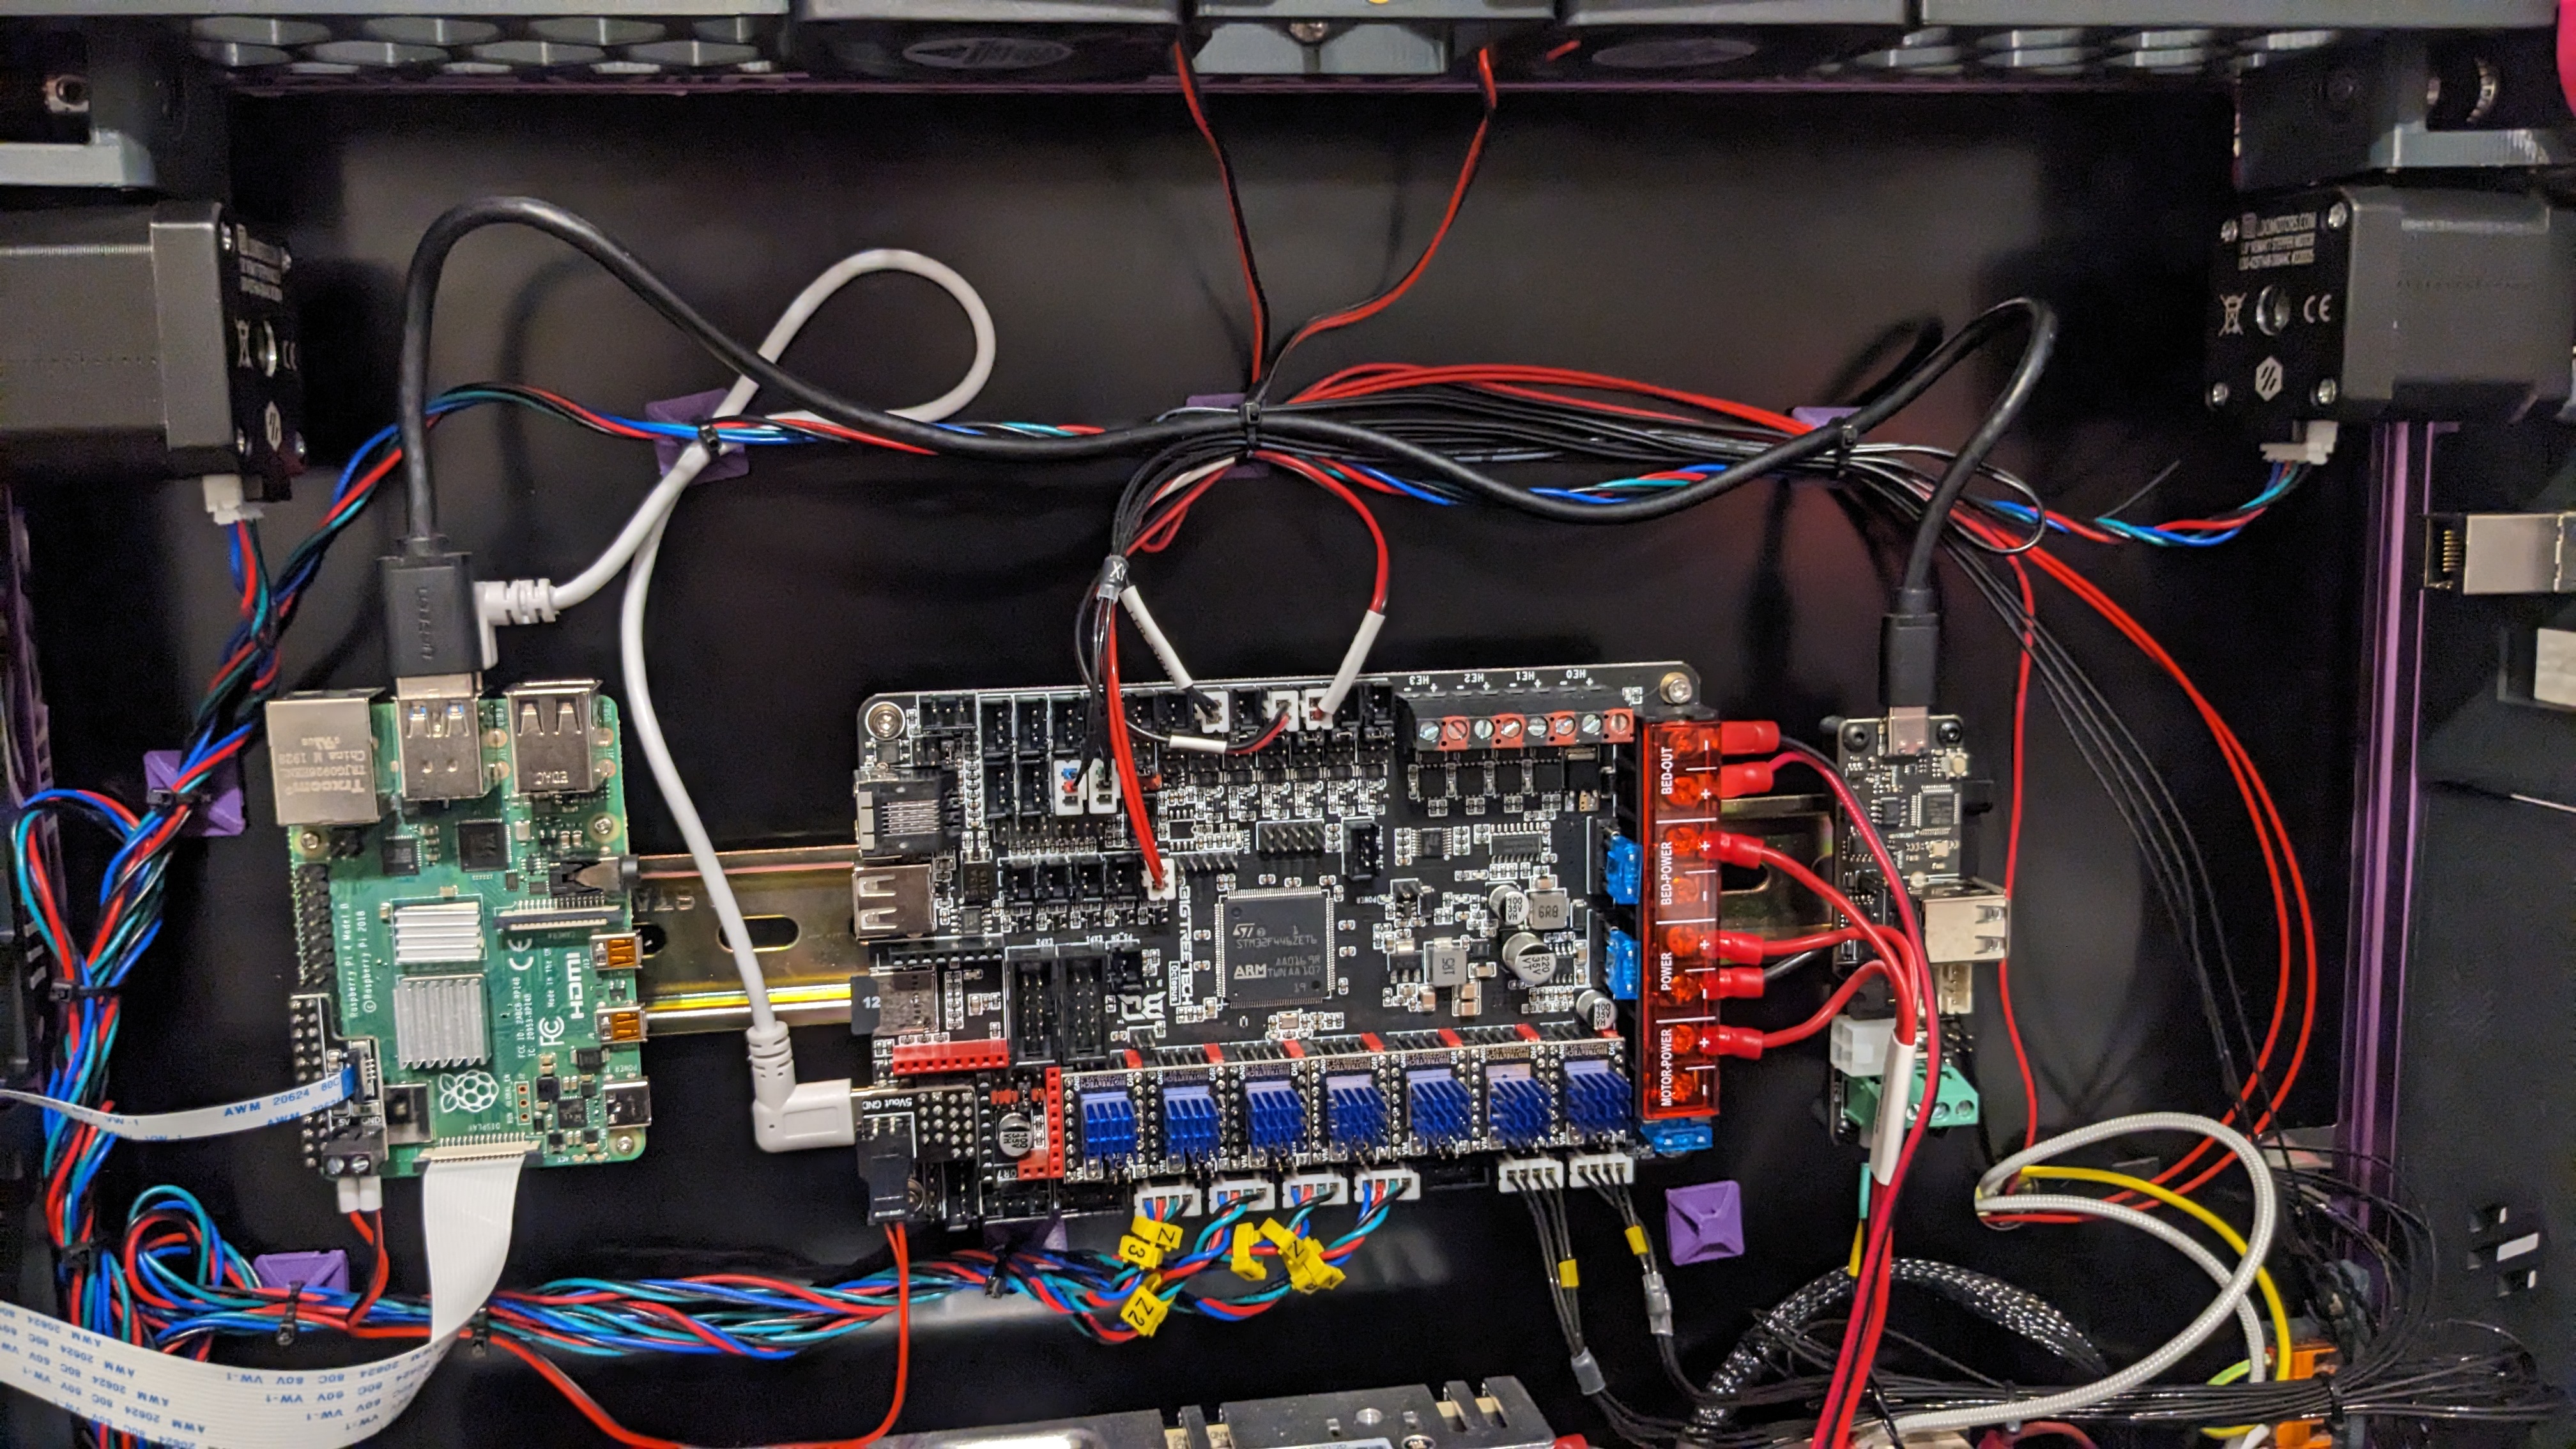
Then you can power up your printer and start the initial configuration.
The first step is to SSH into your Pi and add the CAN adapter as a network interface. First let's confirm the U2C is being seen by your Pi, by running lsusb

Now you can add the interface, you need to run this command as admin, so you will use sudo, which will prompt for your password.
sudo nano /etc/network/interfaces.d/can0 Then, add the following…
allow-hotplug can0
  iface can0 can static
  bitrate 500000
up ip link set can0 txqueuelen 1024And save the file with ctrl-O and ctrl-X to close.
Now you can reboot your pi (sudo reboot), and once you log back in, you should be able to see the Can Adapter as a network interface…
ifconfig can0

Once you have your CAN adapter showing up, you can move on to connecting your CAN devices.
¶ CANbus Wiring
Here is the Pinout diagram from the BTT Github page.
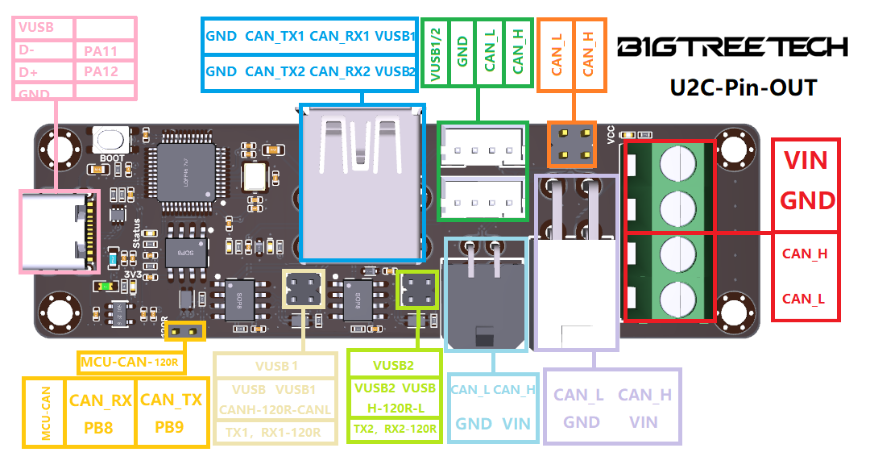
As you can see, the U2C v2.1 has multiple options to connect your CAN devices.
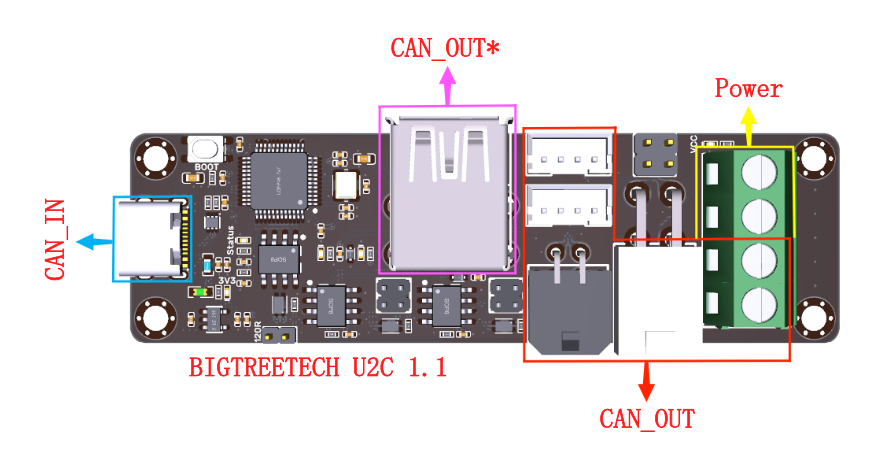
For the most part, the JST, Molex Microfit or the Terminal block are the commonly used options. Here is the breakout for the connector options.
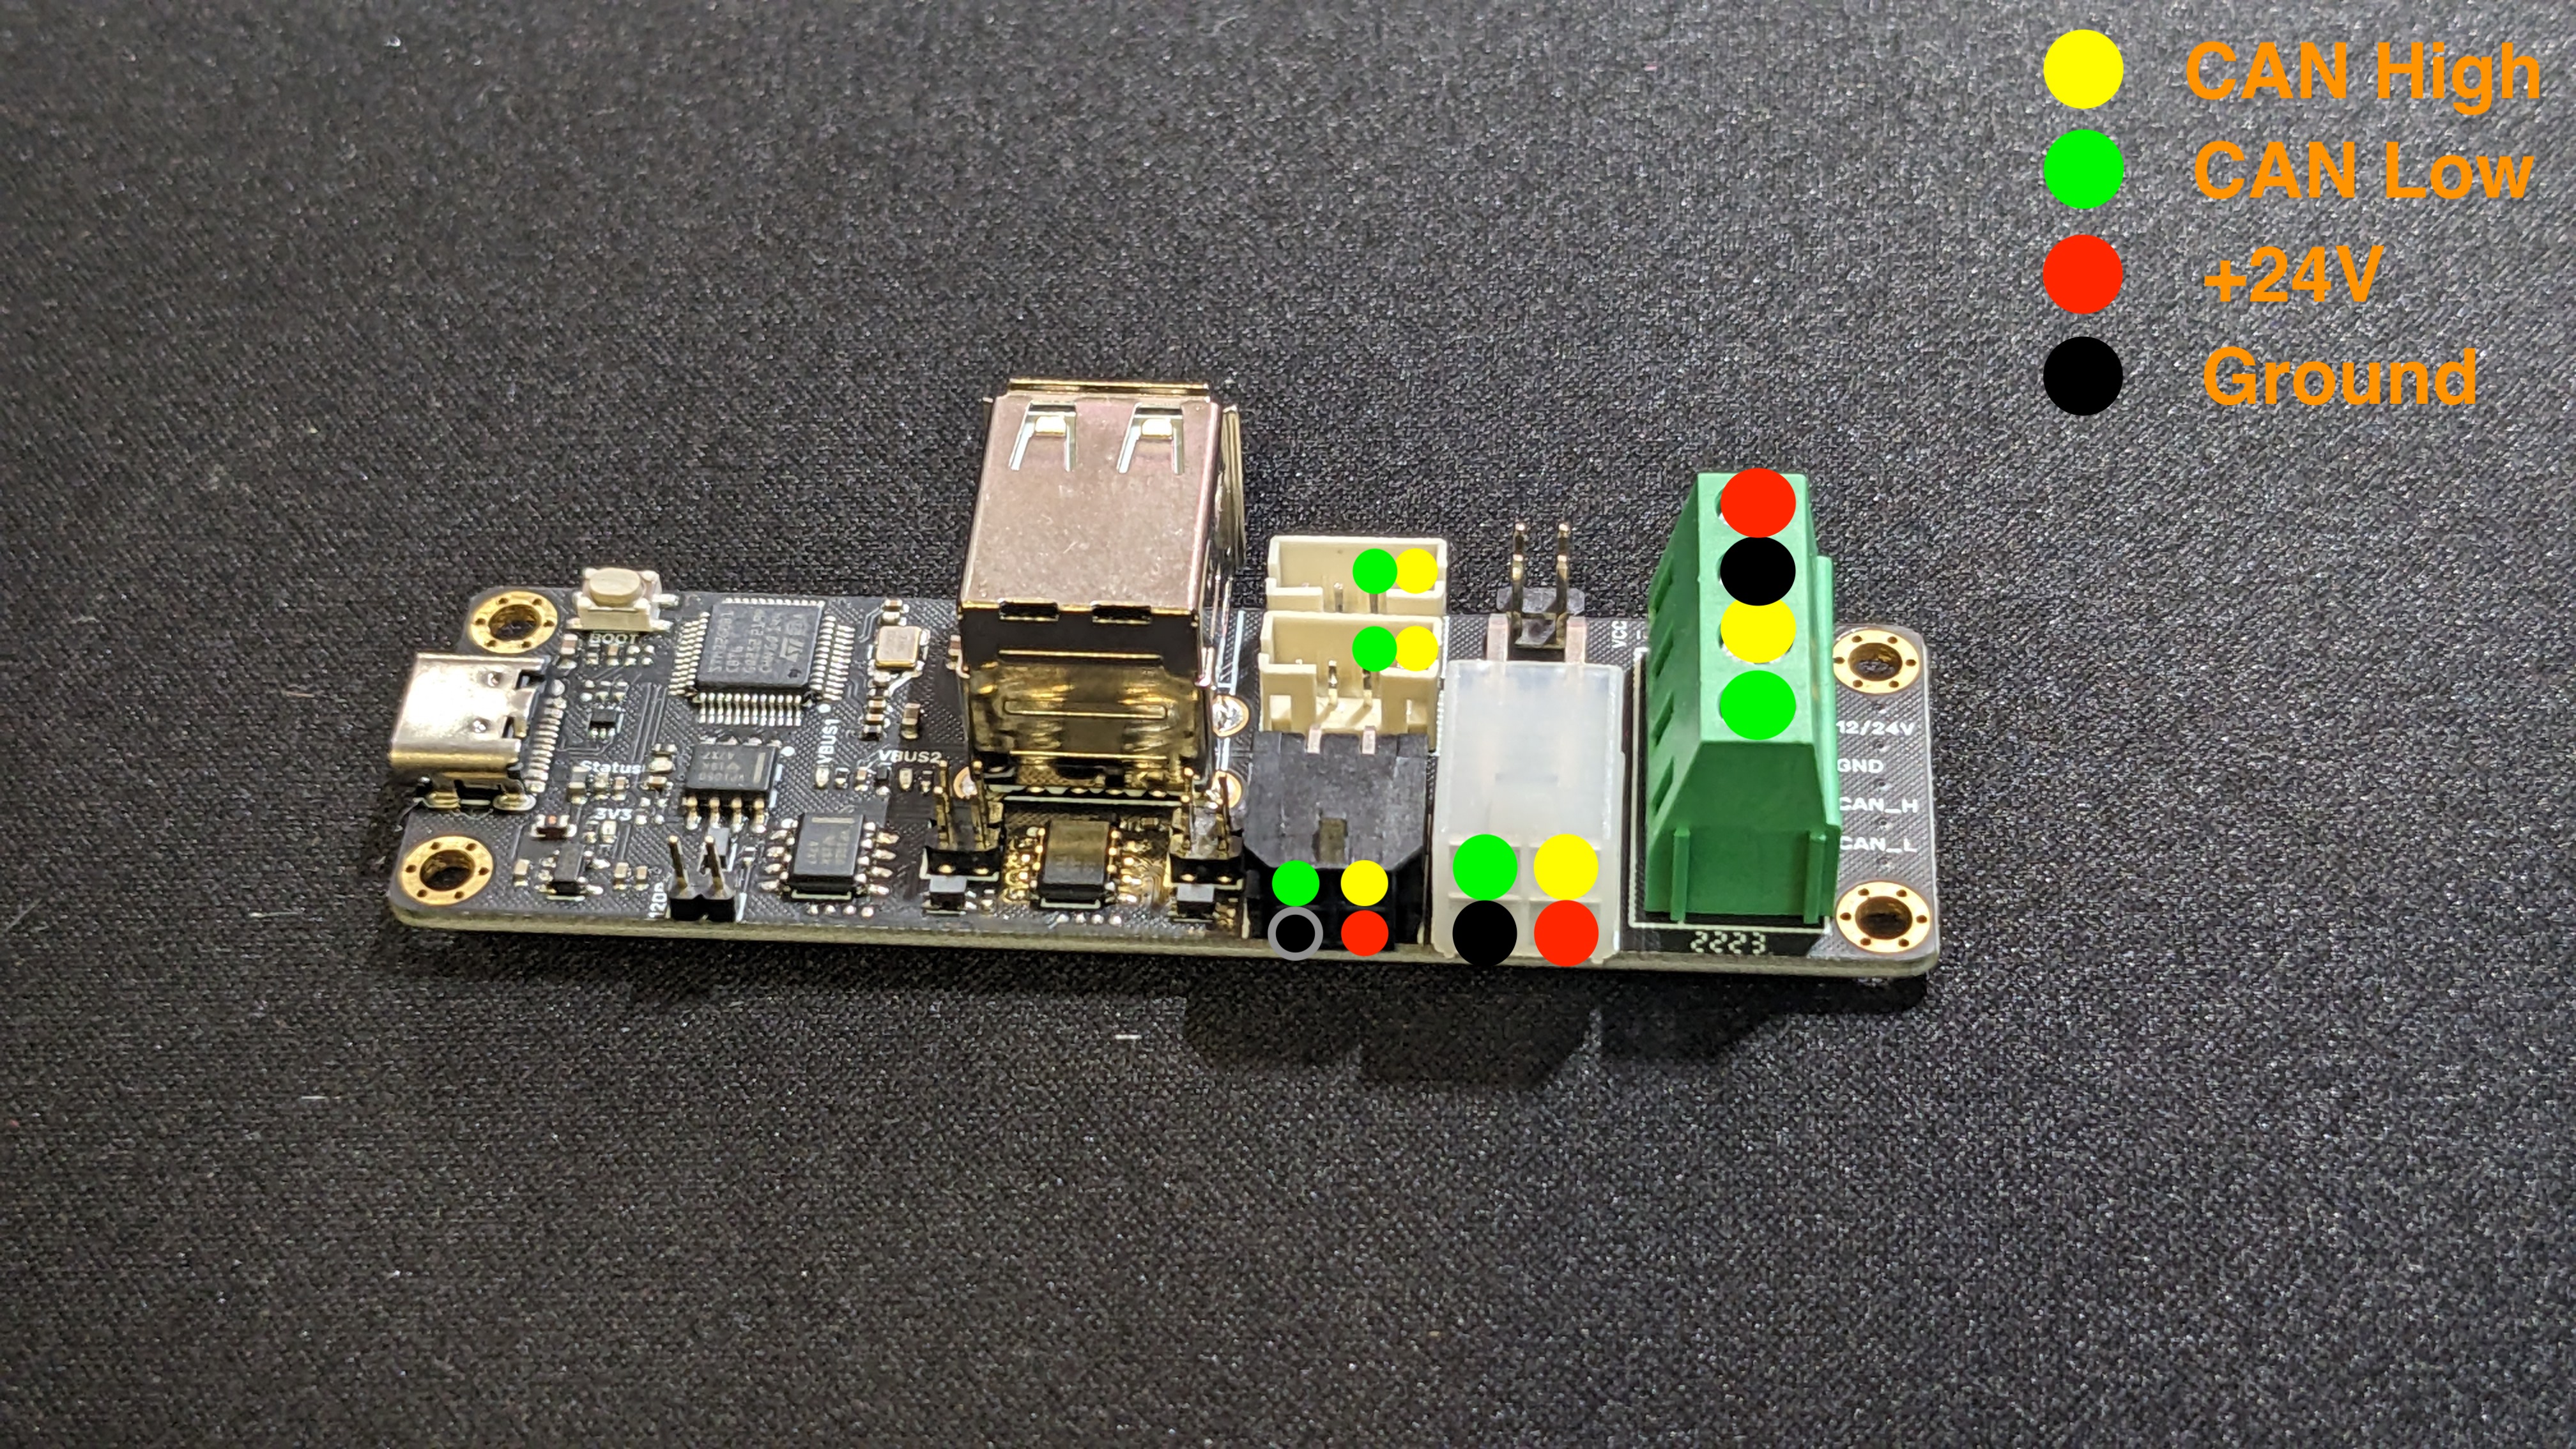
If you decide to provide 24V power to the U2C via the terminal block, you can then feed power out to the Can Devices via the Molex +24V/GRD pins.
Our Linneo Molex CAN Harness uses the terminal connections, but pulls power for the toolhead directly from the PSU. Here is how that would be wired.
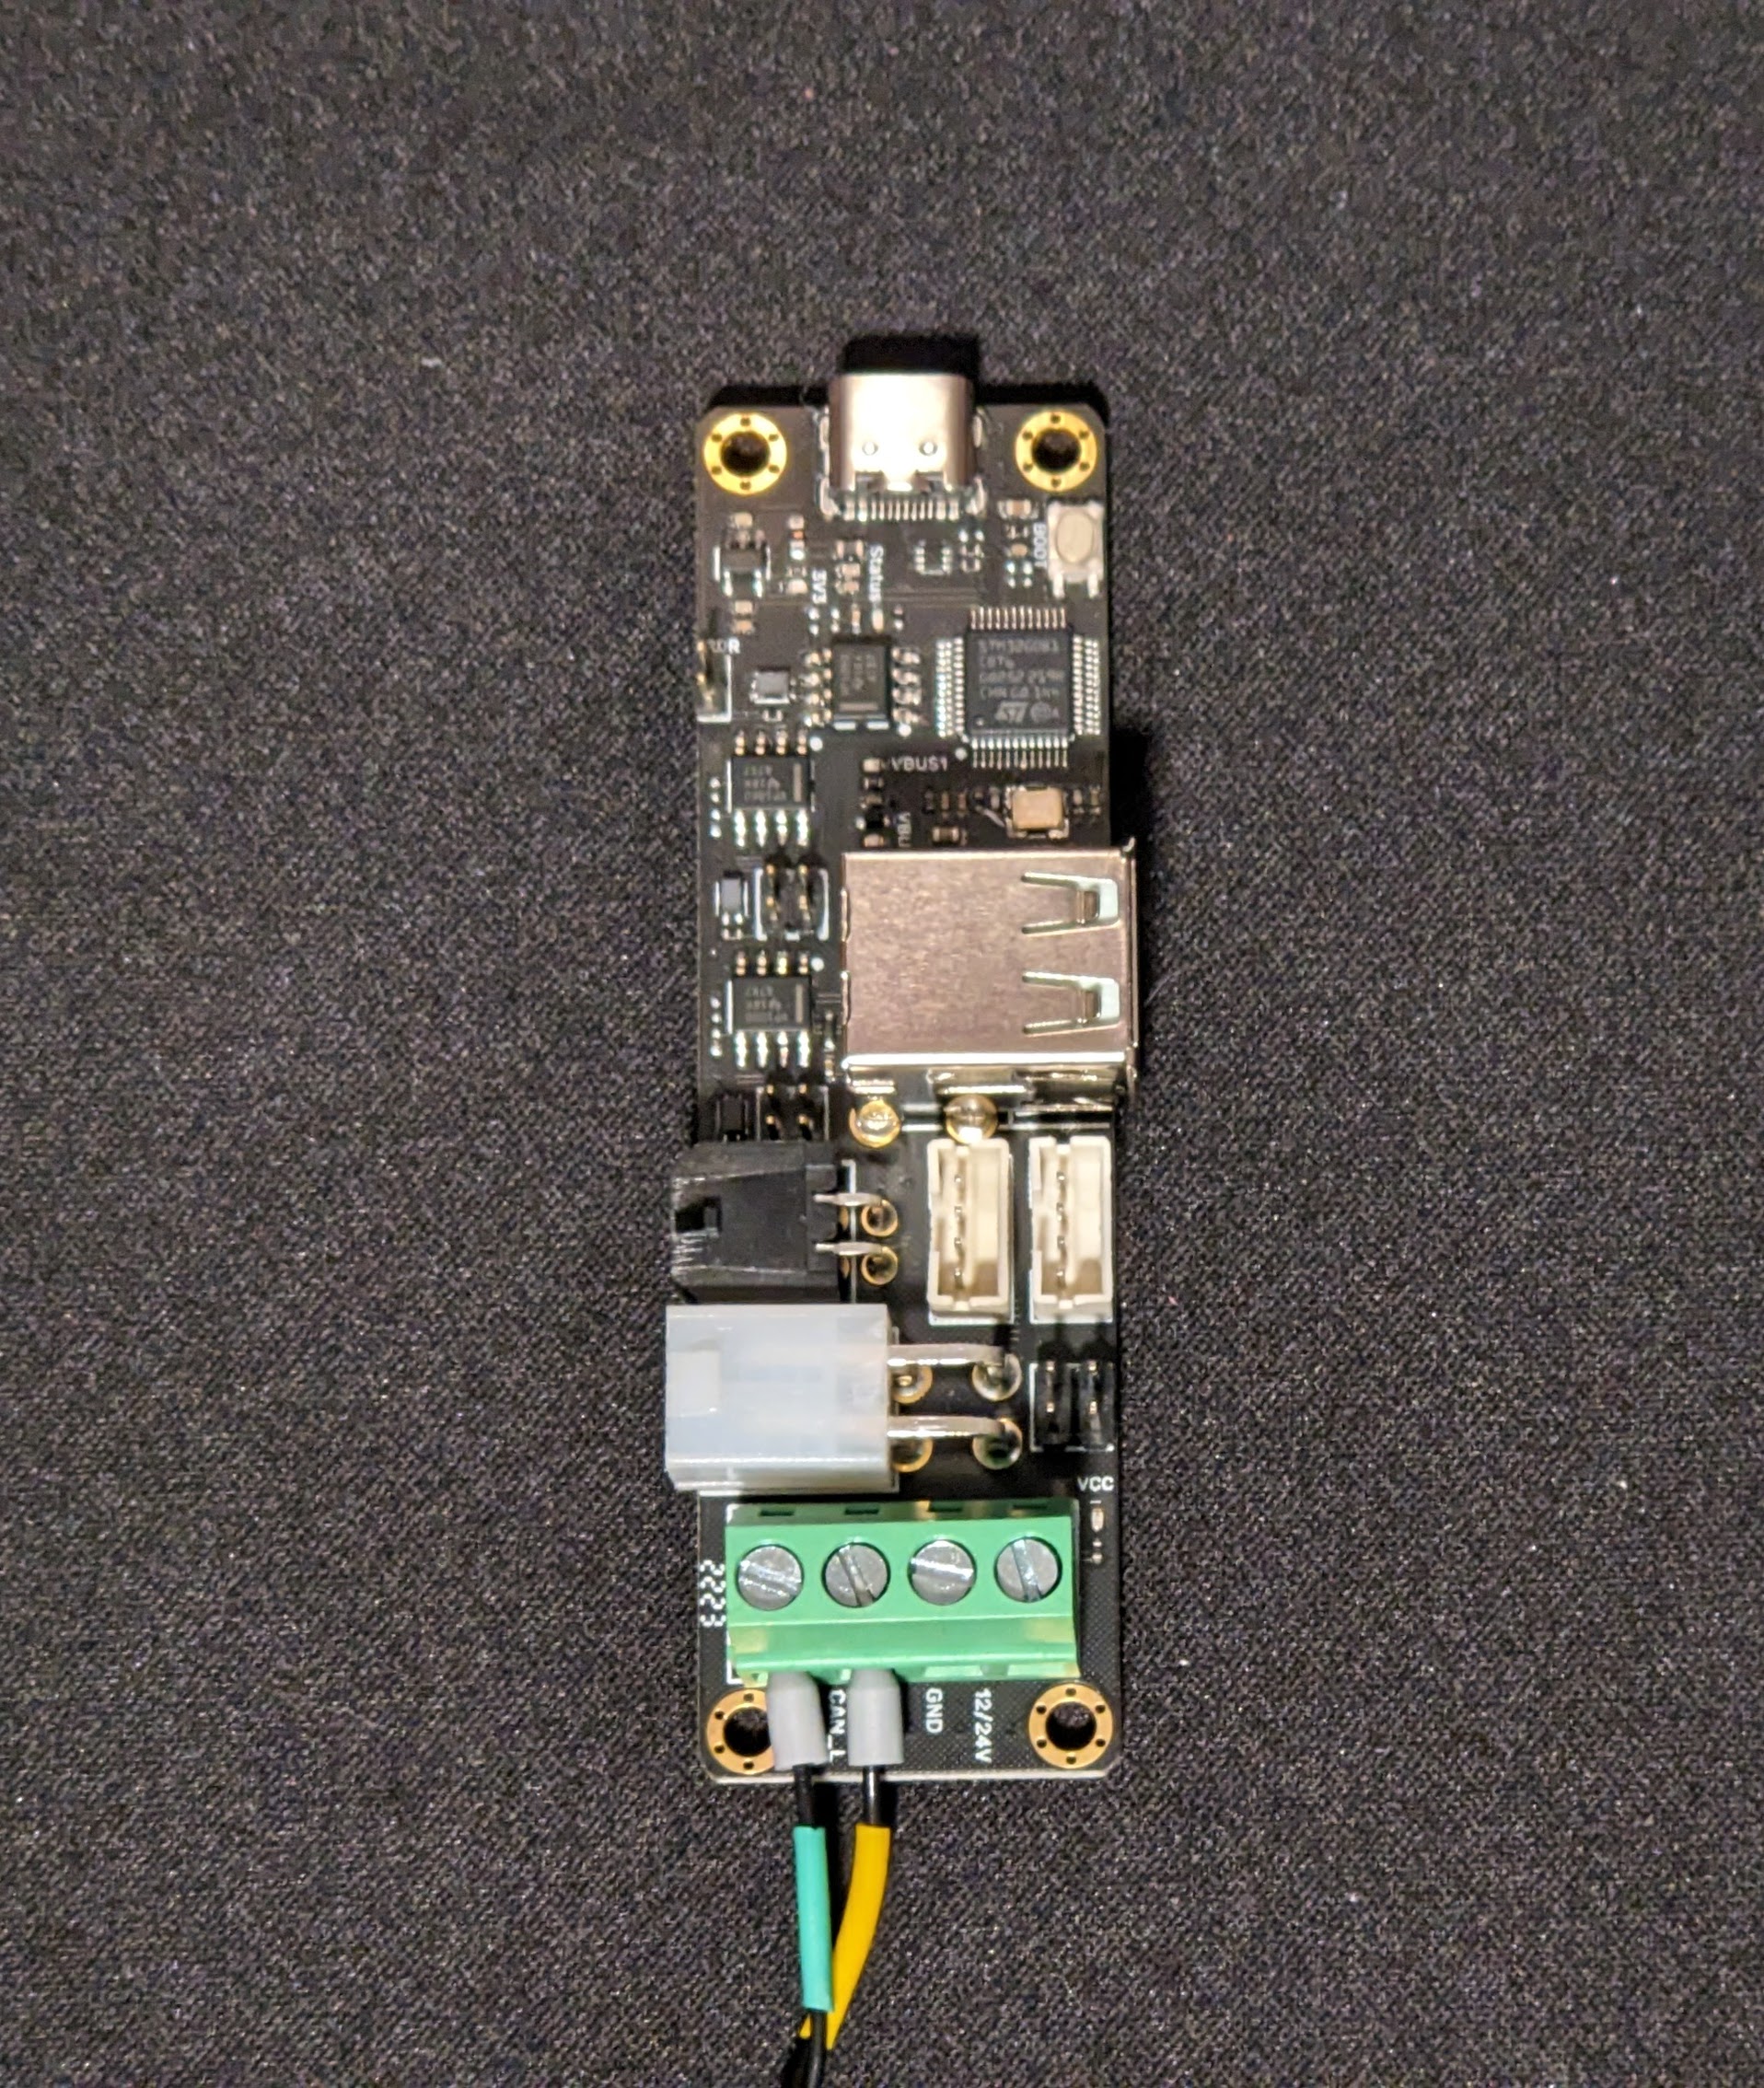
If you choose to use either of the Molex connectors or JST, you just need to terminate your connectors appropriately.
Once you have finished your CANbus wiring, you should be able to query any CANbus devices with the following command.
python3 CanBoot/scripts/flash_can.py -i can0 -q
Found canbus_uuid=dc930e527336, Application: Klipper
Total 1 uuids foundNow you can continue on configuring your CANbus devices. If you are using an EBB36, you can find our guide here.