¶ BigTreeTech PITFT50 Display Install Instructions
For the Voron 2.4 and Trident, we recommend the 45deg mounting bracket from CannedBass as it provides slightly more clearance. For the v2.0, use the original display mount from alanho, for the v2.1 display, use this remixed mount from Mogu1lito.
The required display cable length is dependent on the placement of your Raspberry Pi in your electronics enclosure. This is a standard Raspberry Pi display cable. Excess cable can be coiled or bundled in the electronics compartment with no display issues.
The LDO Voron 2.4 350mm with the LDO recommended electronics compartment needs a 220mm cable.
Assembly and mounting
Once you have those two parts printed, you will need to install four heatset inserts into the display mount.
Then remove the yellow plastic covers from the four outside posts on the back of the display.
Gently lift up the black tab on the right hand side of the display. This tab hinges towards the outside of the display.

Once you have the tab rotated up, you can insert your display cable. The contacts should be facing up. Once the cable is installed, gently push the black tab back down to secure the cable. Gently pull on the cable to ensure it is secure.
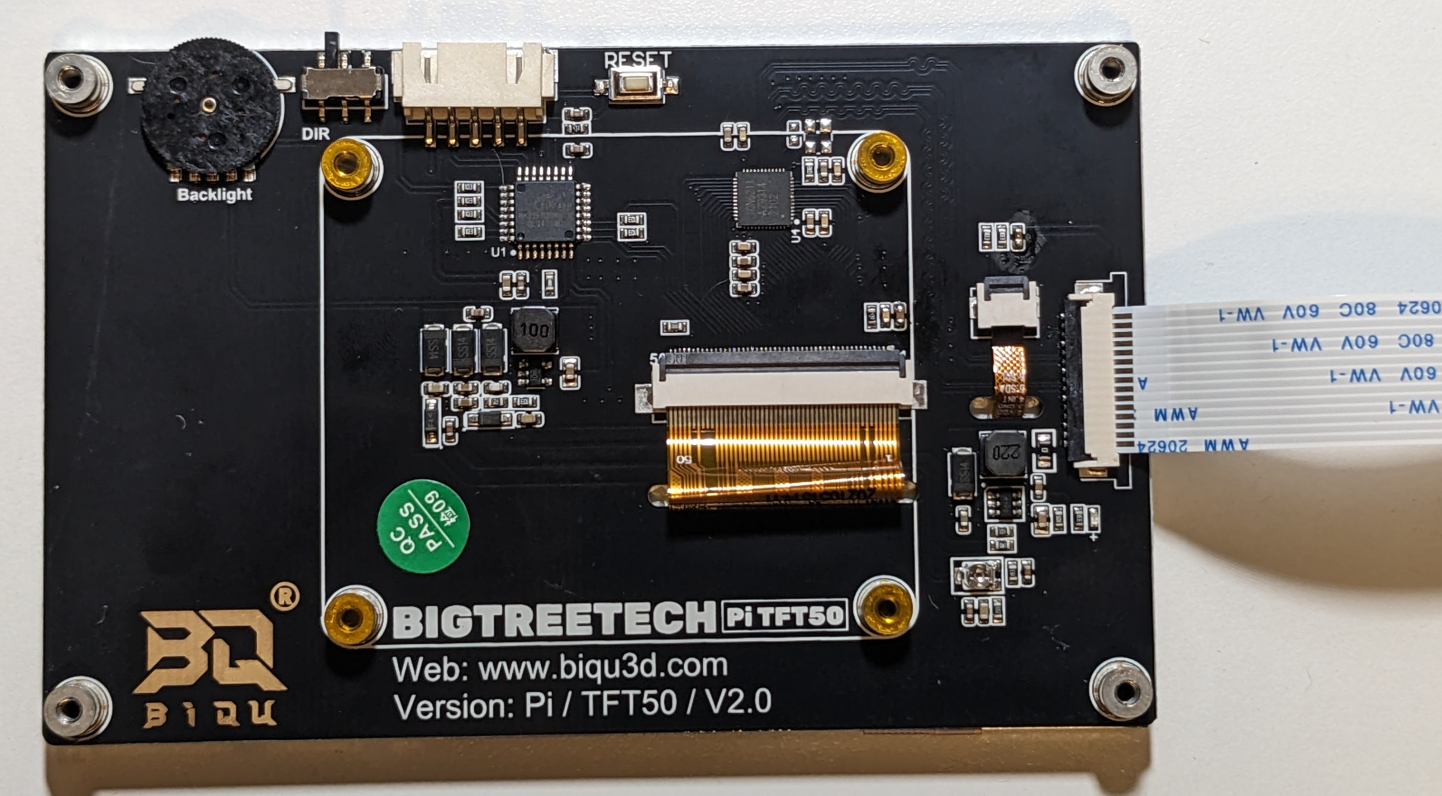
Once you have confirmed the cable is installed correctly, gently bend the cable perpendicular to the back of the display and feed it through the slot in the display mount. It will be a fairly tight bend, but be gentle to not break the cable or the connector.
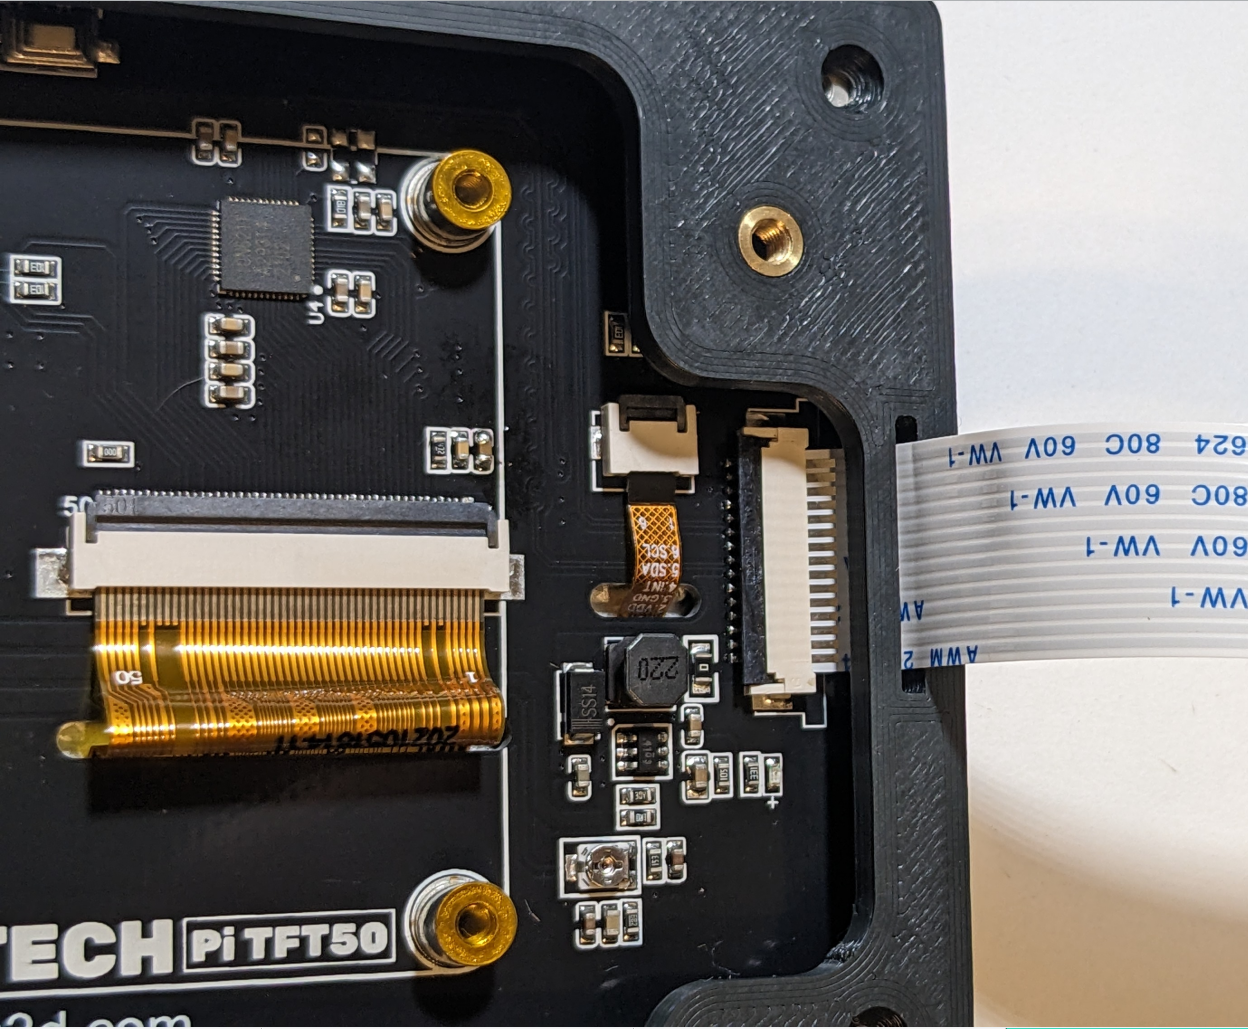
Gently insert the display into the mount and secure it with the four included phillips screws.
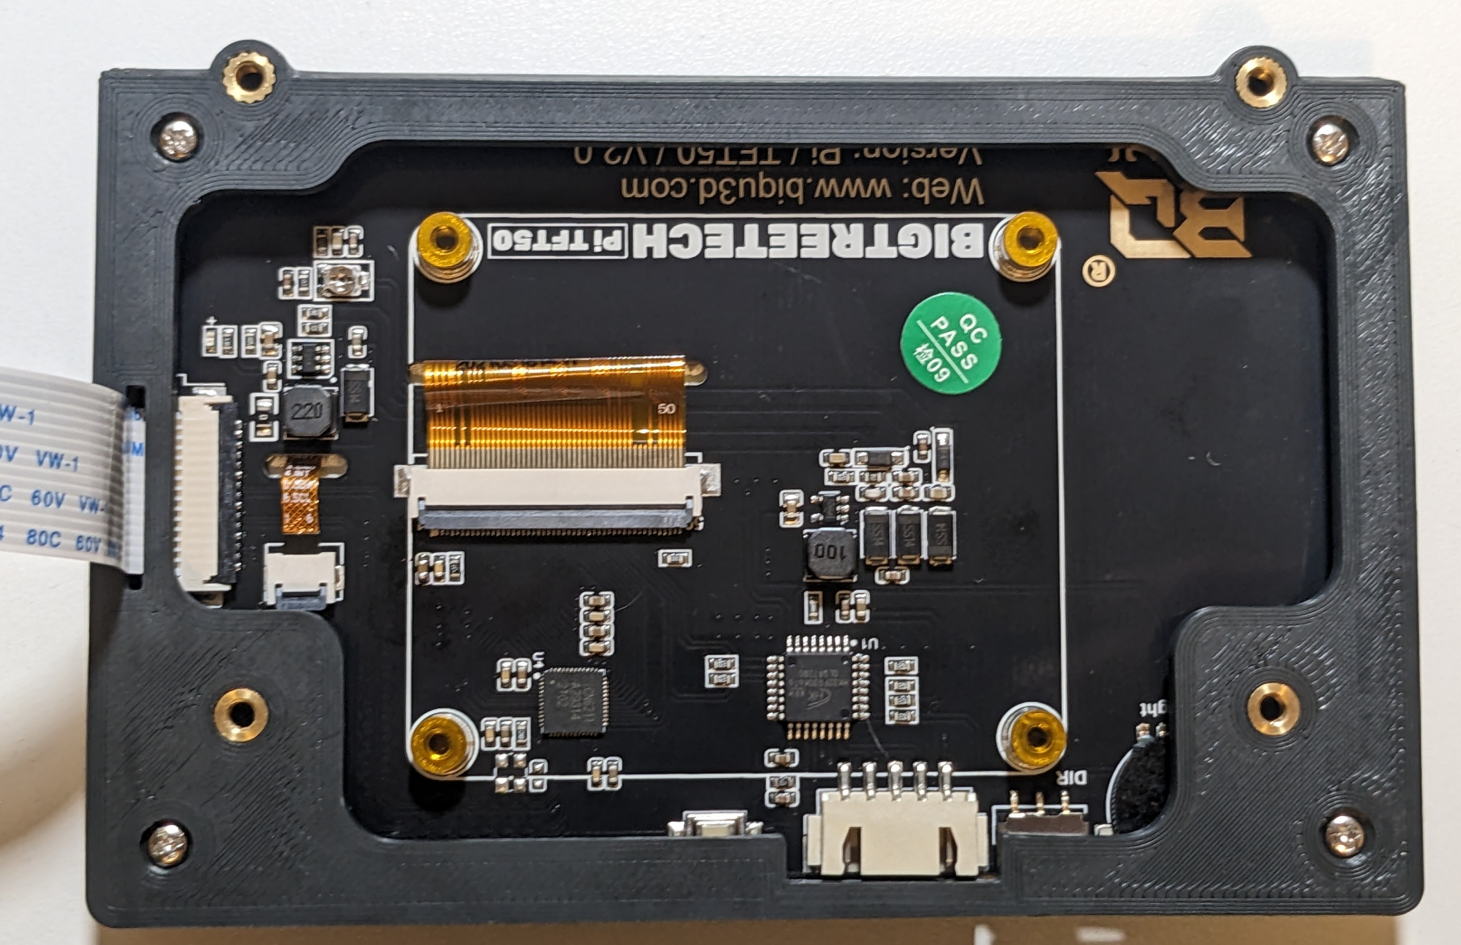
Once the display is installed in it's mount, ensure it is fairly flush in the front, then install the mounting bracket. The bumps on the top of the display mount hook under the lip of the mounting bracket. Ensure the display cable is on the inside of the mount. The mounting bracket is secured to the display mount with four M3x8 SHCS.
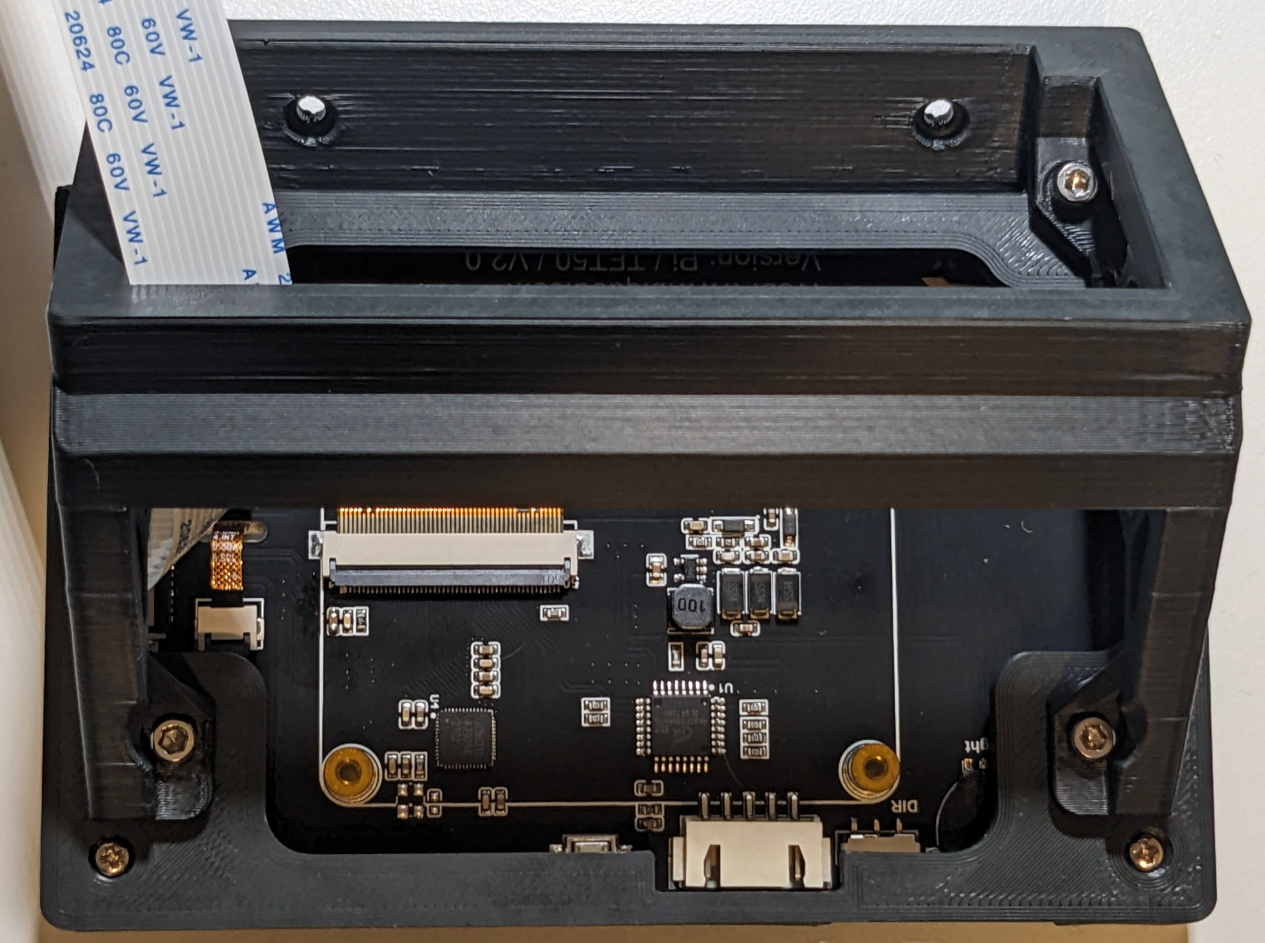
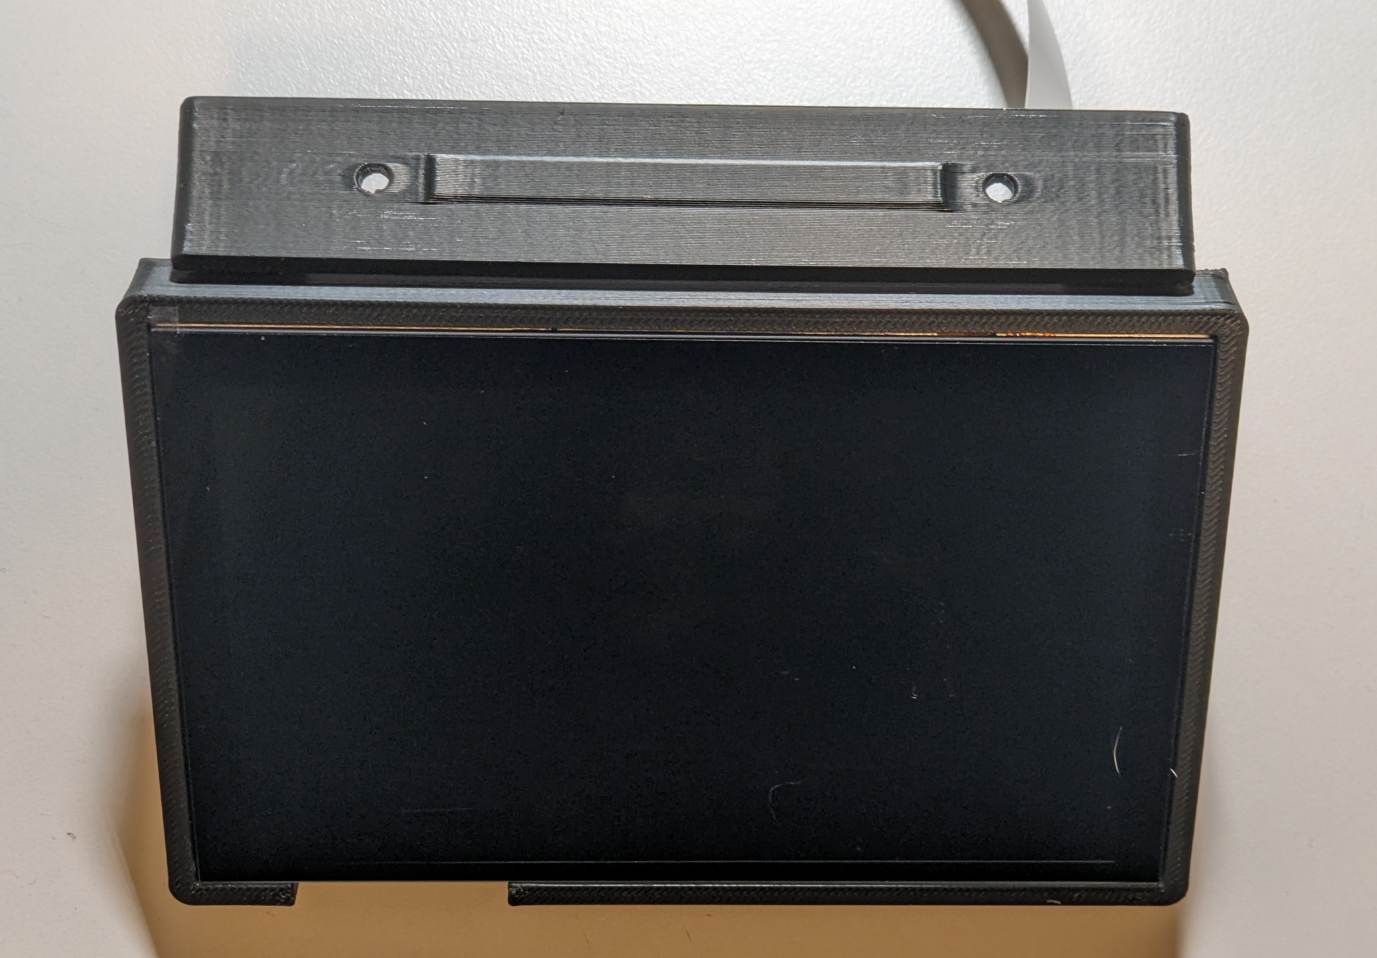
Now you are ready to install it on the frame. You will need to install two M3 t-nuts in the frame. The display is secured to the frame with two M3x8 SHCS.
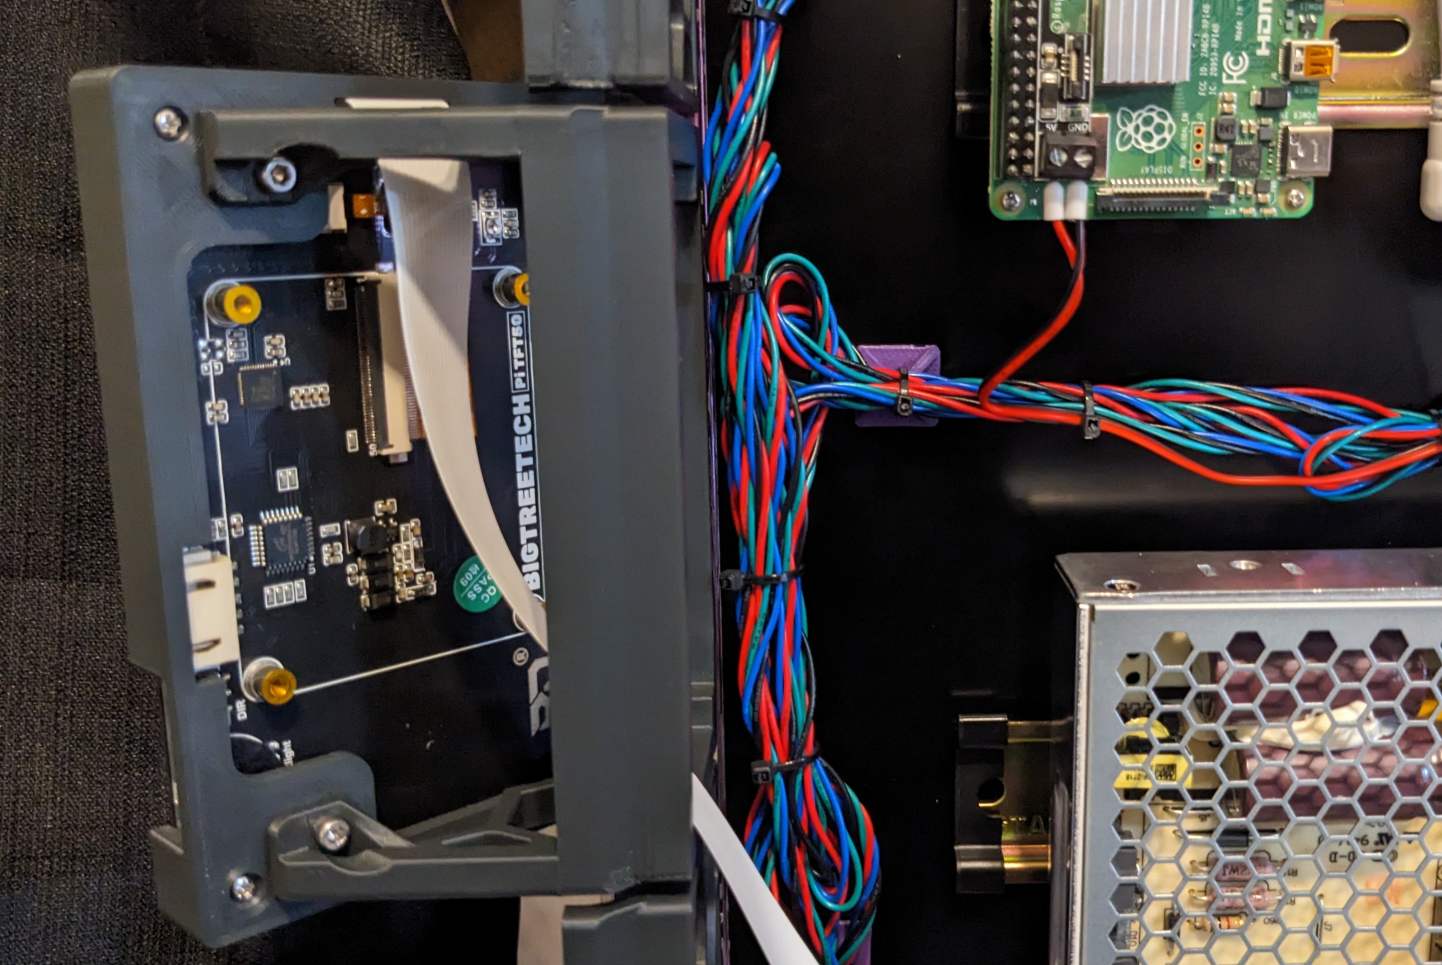
Once you have the display mounted to the frame, you can connect the display cable to the Raspberry Pi. To do this, gently lift up the latch around the display port on the Raspberry Pi.
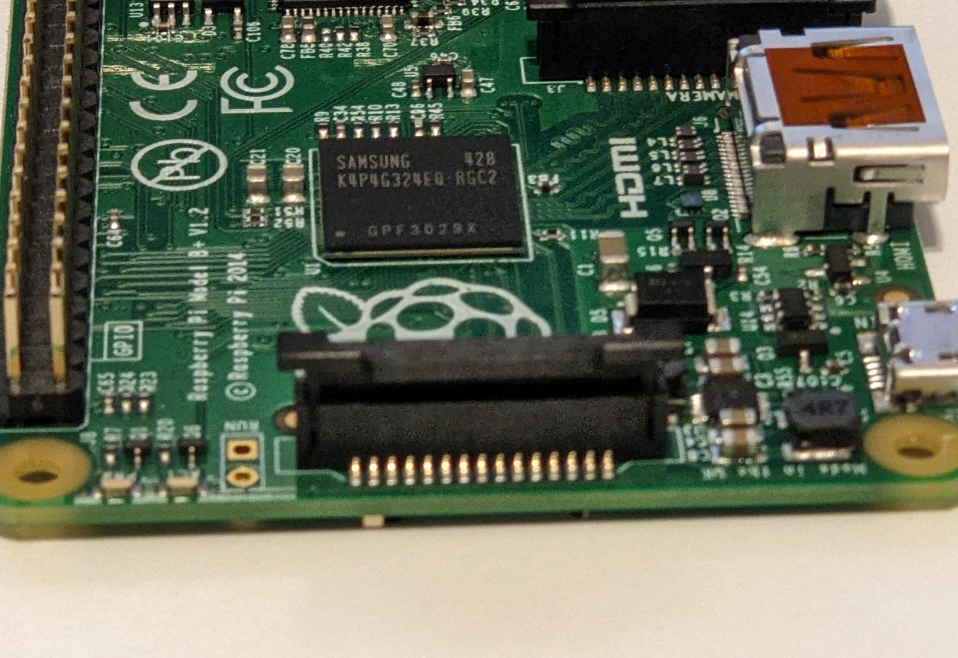
Then insert the display cable, with the contacts facing the center of the Pi.
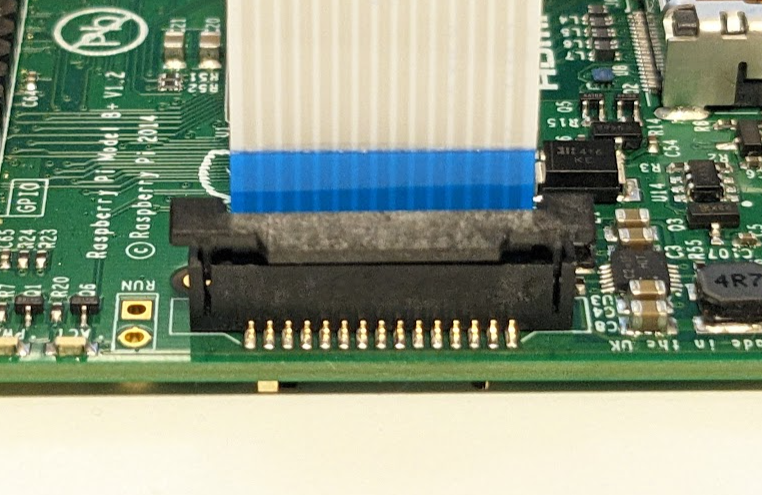
Then close the latch and gently pull on the cable to ensure it is secure.
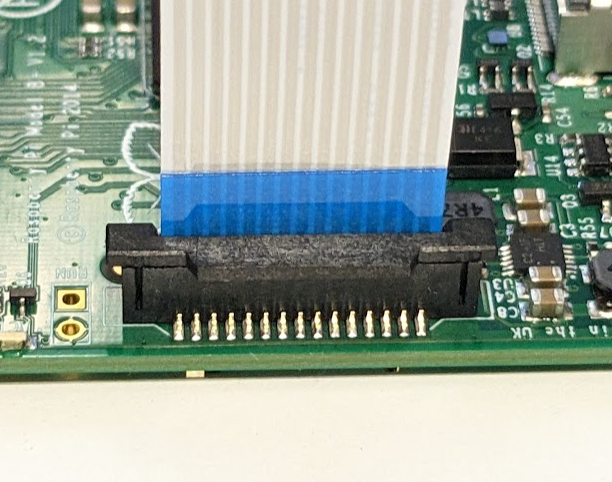
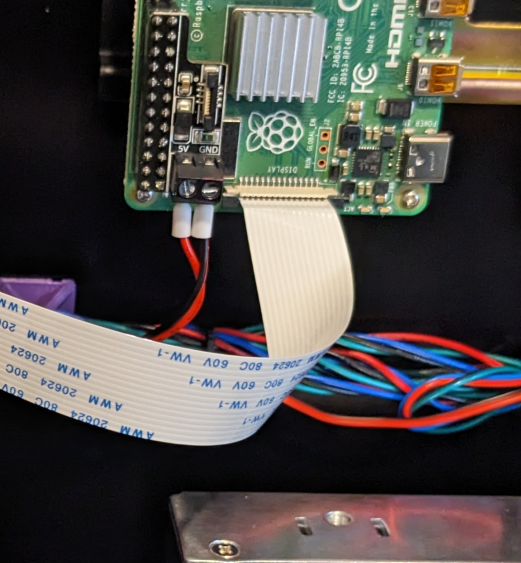
At this point, you can set your printer back up, and move on to the software configuration. When you are booting up your Raspberry Pi, you should see the console messages and login screen. If your Pi doesn't boot after installation, you have likely connected the Display cable backwards.
Software Configuration
This how-to guide covers the basic installation, the full klipperscreen installation documents are here.
ssh into your Pi, then run the following to install KlipperScreen.
sudo su -
cd ~/
git clone https://github.com/jordanruthe/KlipperScreen.git
cd ~/KlipperScreen
./scripts/KlipperScreen-install.shThis will download and install Klipperscreen, and enable the necessary services.
You can have Moonraker's update manager perform updates of KlipperScreen by adding the following to your moonraker.conf file.
[update_manager KlipperScreen]
type: git_repo
path: ~/KlipperScreen
origin: https://github.com/jordanruthe/KlipperScreen.git
env: ~/.KlipperScreen-env/bin/python
requirements: scripts/KlipperScreen-requirements.txt
install_script: scripts/KlipperScreen-install.sh
managed_services: KlipperScreen
To enable the touchscreen, you must edit the /boot/config.txt file (you will need to use sudo to edit the file, as it is read-only) and change the following line…
sudo nano /boot/config.txt
# Enable DRM VC4 V3D driver
dtoverlay=vc4-kms-v3dto
# Enable DRM VC4 V3D driver
dtoverlay=vc4-fkms-v3d
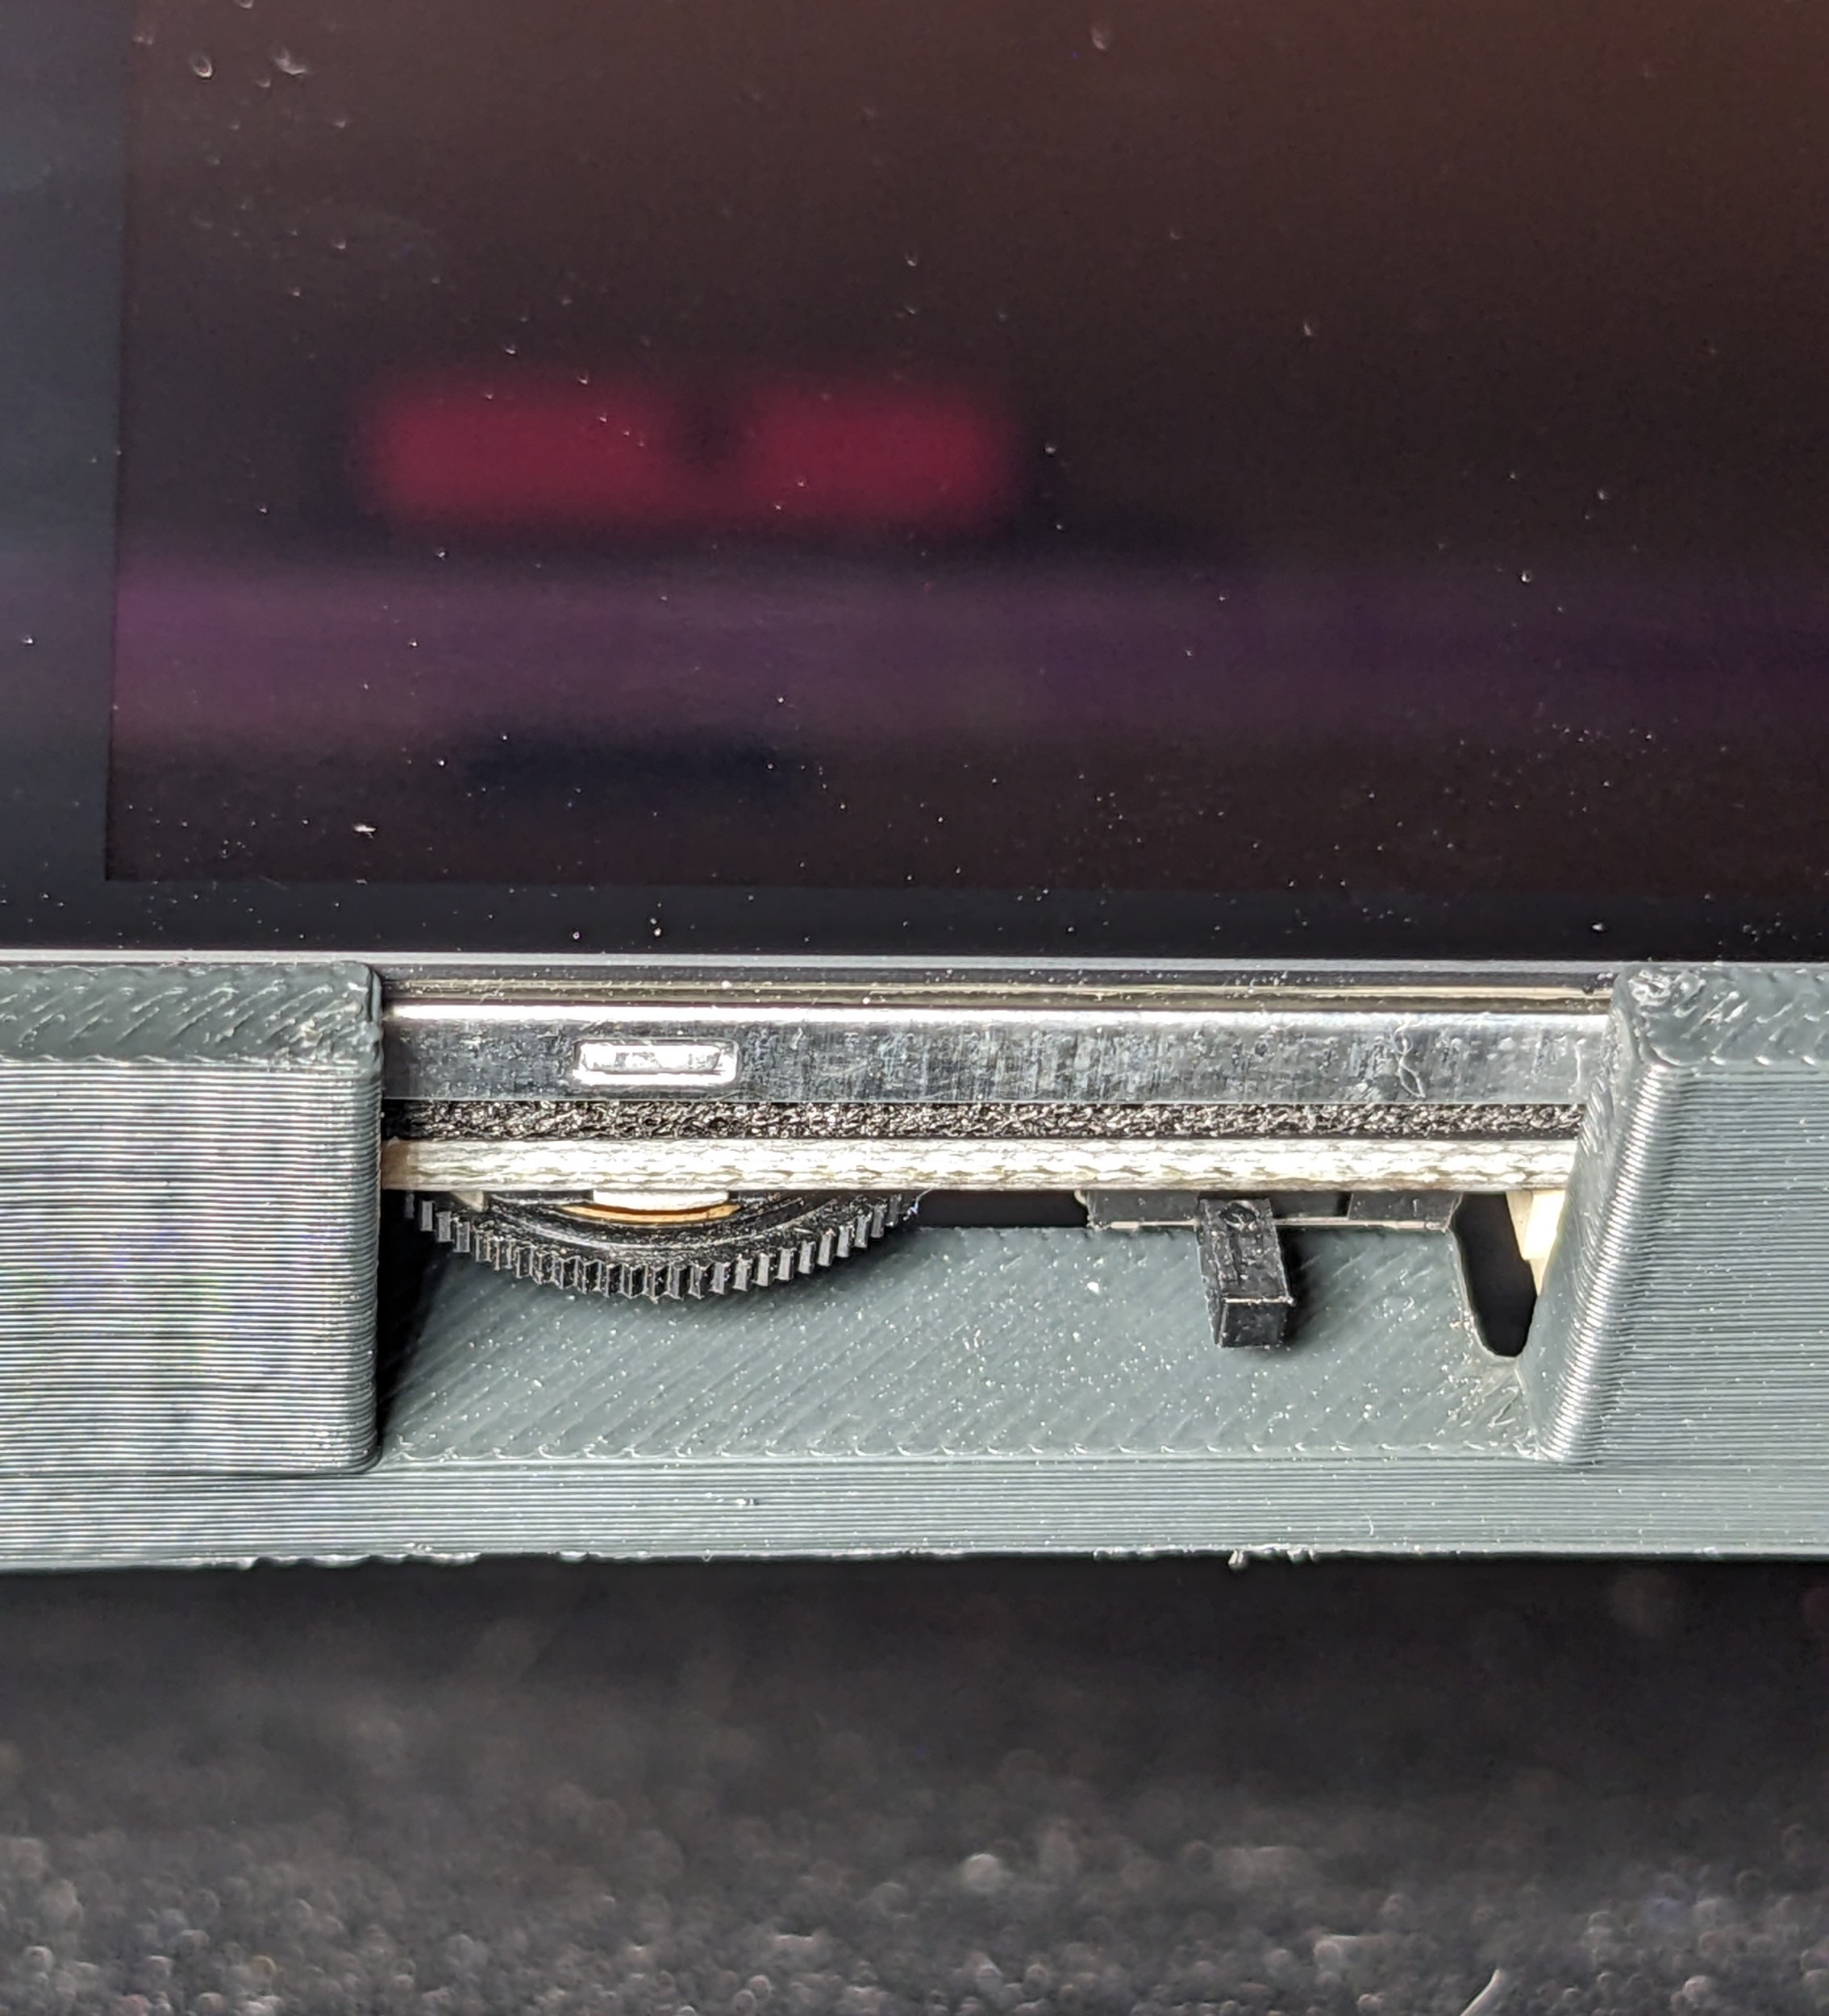
NOTE: If the image on your screen is upside down, you can move change the rotation with the small switch on the bottom of the display (next to the brightness dial).
Klipperscreen is highly customizable, so head over to the Klipperscreen documentation to learn about how to get the most out of your BigTreeTech PITFT50.